tutorial

LLMs accelerated with eGPU on a Raspberry Pi 5

After a long journey getting AMD graphics cards working on the Raspberry Pi 5, we finally have a stable patch for the amdgpu Linux kernel driver, and it works on AMD RX 400, 500, 6000, and (current-generation) 7000-series GPUs.

With that, we also have stable Vulkan graphics and compute API support.

When I wrote about getting a Radeon Pro W7700 running on the Pi, I also mentioned AMD is not planning on supporting Arm with their ROCm GPU acceleration framework. At least not anytime soon.

Luckily, the Vulkan SDK can be used in its place, and in some cases even outperforms ROCm—especially on consumer cards where ROCm isn't even supported on x86!

Realizing Meshtastic's Promise with the T-Deck

Meshtastic—a simple off-grid mesh network used to transfer short messages—is a neat bit of tech, but until recently, most development has focused on little nodes with or without tiny OLED displays, and a separate phone app or web UI to actually interact with the mesh.

The major use case I have for Meshtastic is backup comms—when cell networks and physical infrastructure may be unavailable. In those conditions, I don't want to run my full computer, or even a full smartphone, just to communicate long range via text.

Enter the T-Deck:

Lilygo T-Deck running experimental UI Meshtastic firmware

Photographing the 2024 Total Solar Eclipse

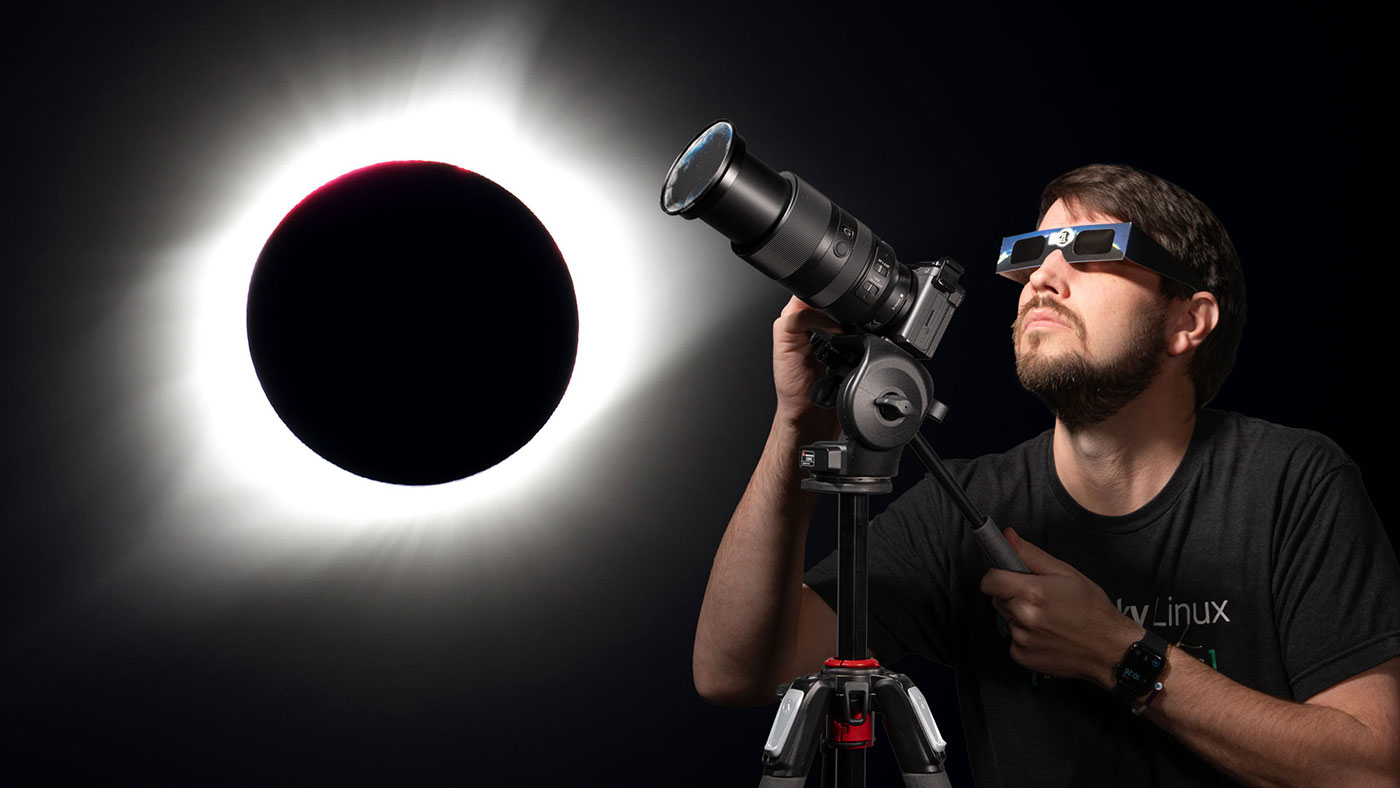
On April 8, there will be a Total Solar Eclipse covering an large swath of the US, offering hundreds of millions of people the opportunity to witness one of the most spectacular displays of our sun.

Jeff Geerling Photographing the Total Solar Eclipse

I wrote two blog posts about the recent 2017 eclipse, as well—check those out:

For this year, I was considering going all-in on a custom Raspberry-Pi-based solar tracking system, recording video and images... but Will Whang already built a custom solar imaging setup that would put anything I build to shame.

Highly-condensed time-lapse footage with Frigate

Frigate's 0.13.0 release included a feature near and dear to my heart: easy exporting of timelapses, straight from the Frigate UI.

I'm a little bit nutty about timelapses, and have made them with dashcams, GoPros, full DSLRs, webcams, and even Raspberry Pi.

But one thing I haven't done (until now) is make easy timelapses from IP cameras like the Annke 4K PoE cameras I use for security around my house.

Eventually I'm planning on automating things further, but for now, here's my process for building up a timelapse that's relatively small in file size, preserving only frames where there's motion from frame to frame.

For something like clouds/sky, or natural environments, it's better to do a straight timelapse export and maybe recompress it if you want, but for indoor or outdoor security footage, it's nice to condense it down.

Mounting an ext4 linux USB drive on macOS in 2024

I recently pulled a SATA hard drive out of a Linux box that I wanted to grab some files off of. I only had my Mac on hand, and I had a USB 3.0 to SATA hard drive adapter at the ready.

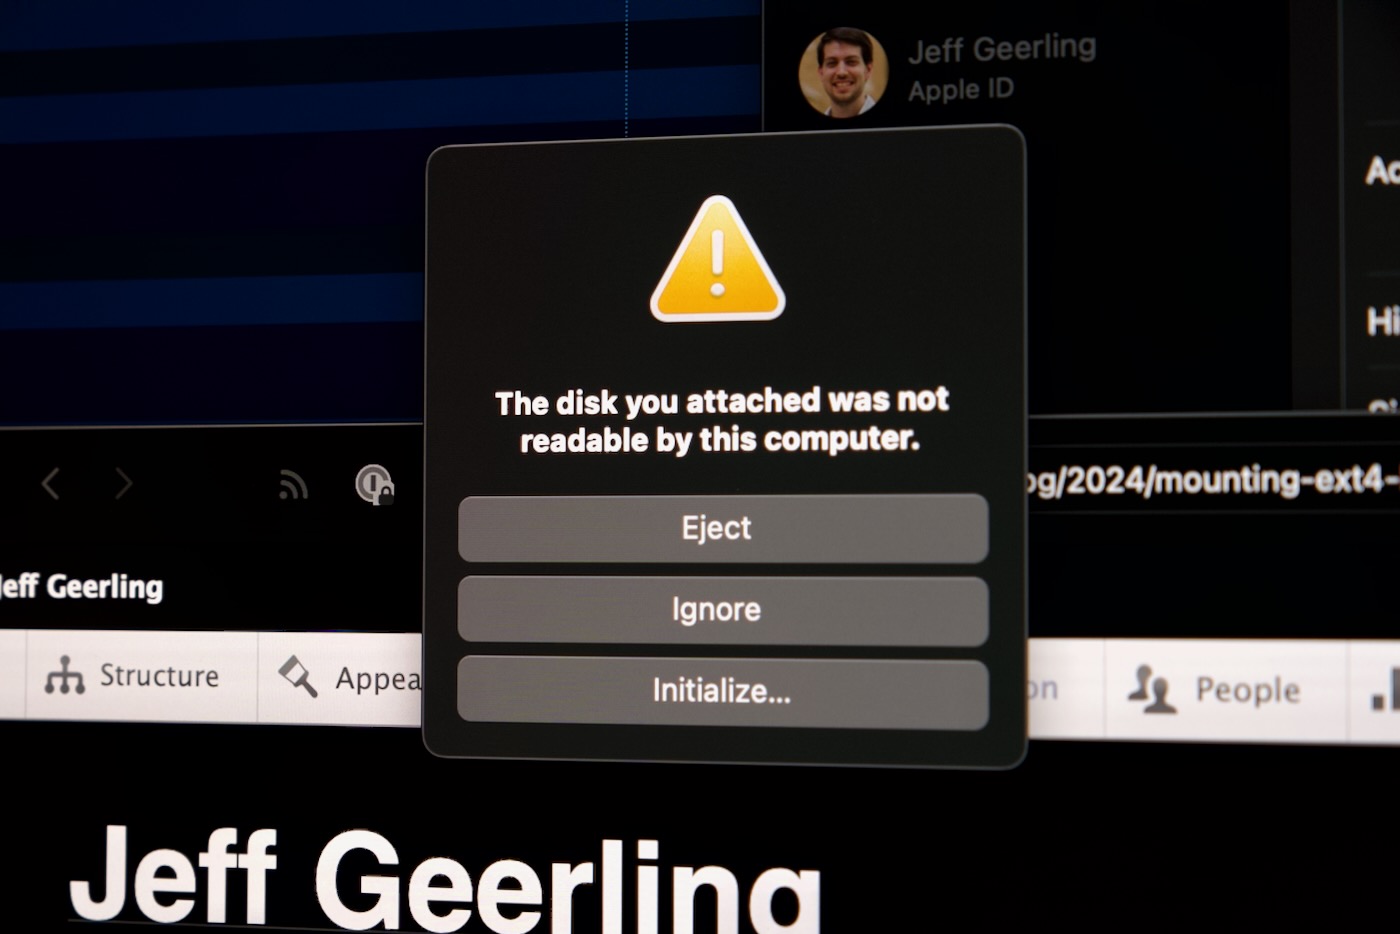
But when I plugged in the hard drive, macOS said it couldn't recognize the disk.

Disk unreadable by macOS

Makes sense, because macOS includes support for Apple's filesystems, not Linux (or even NTFS, Windows' preferred filesystem). There are commercial solutions you can buy, like Paragon Software's extFS for Mac, but that costs $39, and I don't want to deal with the licensing issues that may exist there if I just want to grab a few files off one hard drive.

Luckily, there are some open source libraries that allow at least read only access to ext4-formatted disks on macOS. Let's install them and use them to mount the drive:

First, install macfuse, using homebrew:

Setting up a Mikrotik 10 Gbps Switch the first time

Since I've done this four times now... and each time it's just a session of reading the docs, searching the forums, etc. until I get everything configured just so, I thought I'd document how I bring up a new MikroTik switch.

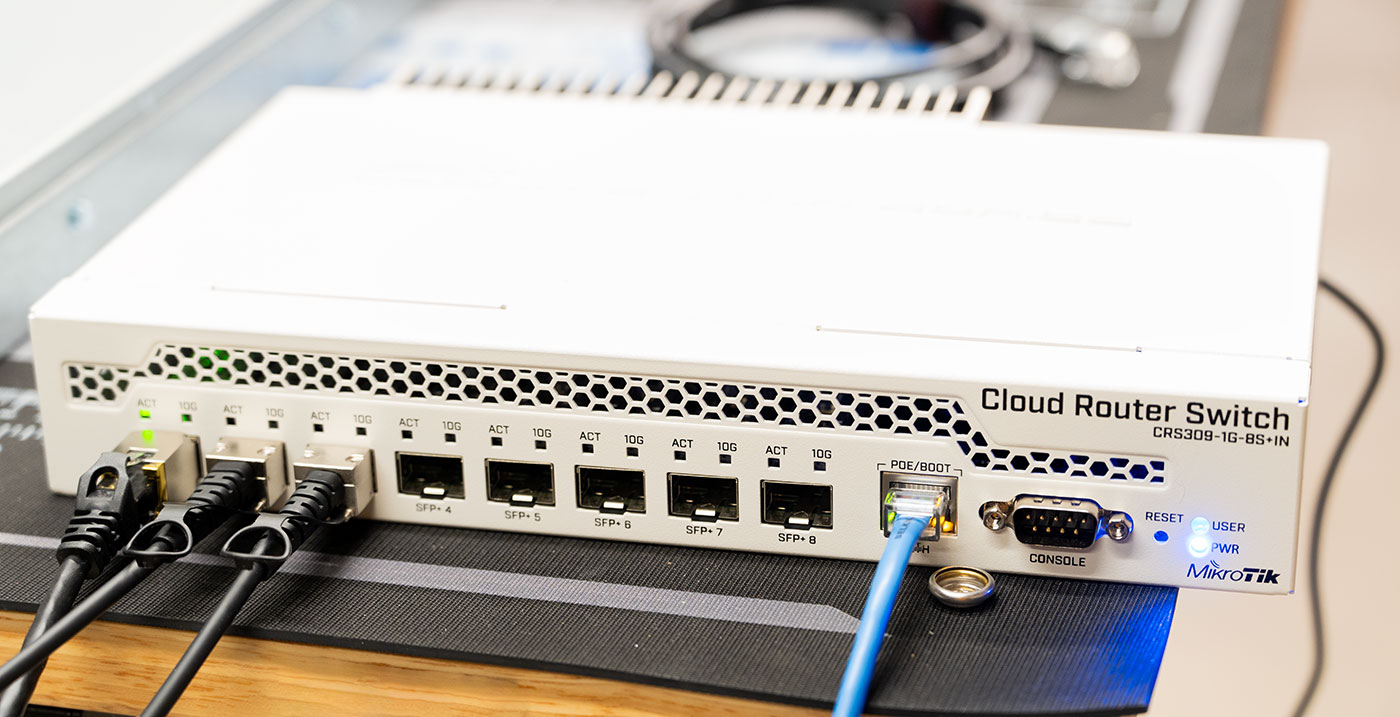
Mikrotik Cloud Router Switch CRS309-1G-8S+in

I personally love the CRS309-1G-8S+IN, and have three of them running in my homelab. They're less than $250, with 8 10 Gbps SFP+ ports, a 1 Gbps RJ45 port, and a serial console port.

But the best thing for my home use is they are fanless. Blissful silence, outside of a couple beeps the first time you plug it in.

How I installed TrueNAS on my new ASUSTOR NAS

A common question I get asked whenever my ASUSTOR NAS makes an appearance is: "but can it do ZFS?"

I'm still trying to convince them to add it to ADM alongside EXT4 and Btrfs support, but until that time, the 2nd best option is to just run another OS on the NAS! This is now permitted, but you won't get technical support from ASUSTOR for other OSes.

Some people (myself included) like buying hardware and... doing what we want with it! And for computer hardware, that often involves installing whatever OS and software we want to do the things we want to do. Pretty crazy, coming from a guy who uses a Mac, right?

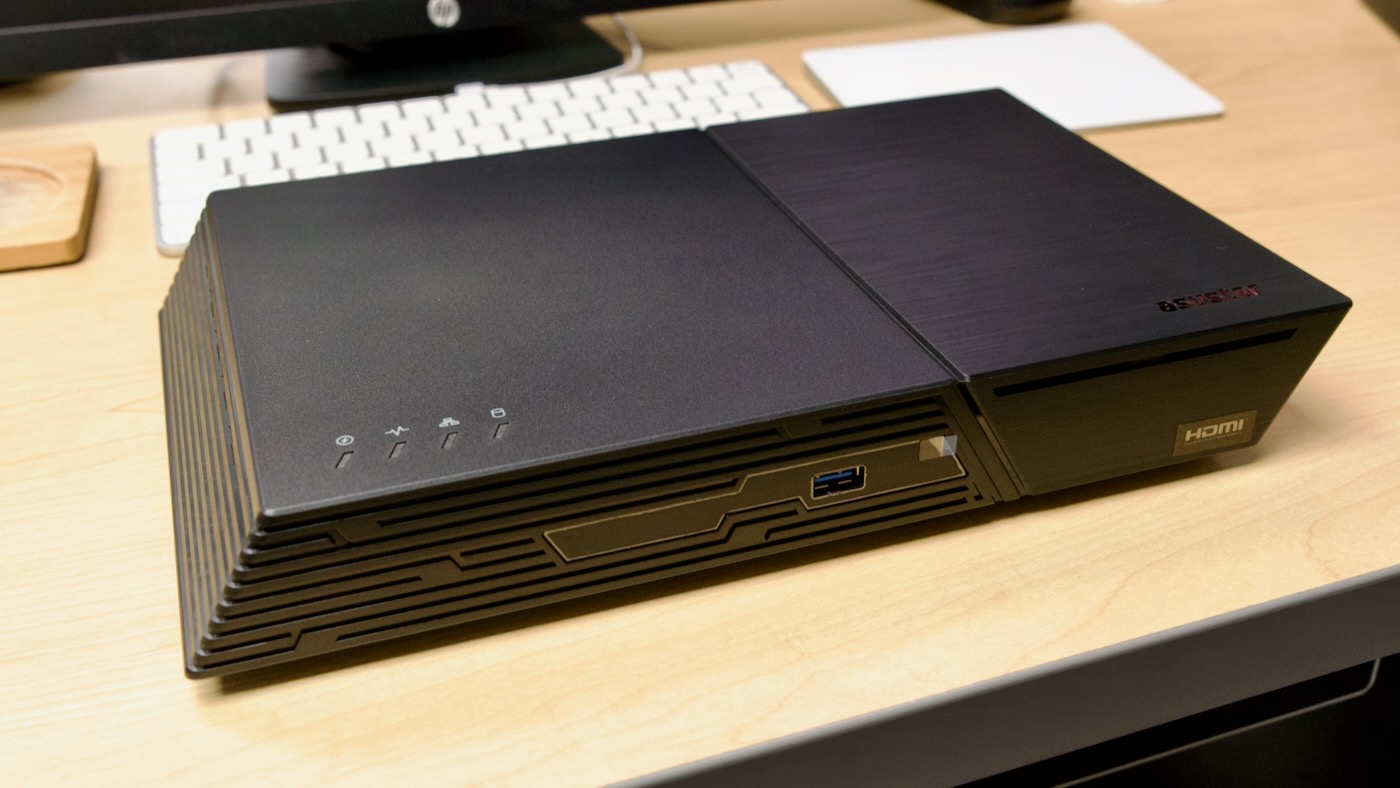
ASUSTOR Flashstor 12 - front

Build your own private WireGuard VPN with PiVPN

I am frequently away from home (whether on family vacation, a business trip, or out around town), but I have a number of important resources on my home network—as any homelabber does.

There are services I like to access remotely like my NAS with my giant media library, my edit server with all my active projects, and especially Home Assistant, which lets me monitor all aspects of my home.

Some people rely on individual cloud services from IoT vendors and have a bunch of apps to connect to each type of device independently. As someone who has dealt with numerous security breaches for numerous services, I know not to trust 50 different cloud-connected devices in my home.

That's why I'm a 'self-hosted' homelabber, and why I try to find devices that don't leave my local network.

Transcribing recorded audio and video to text using Whisper AI on a Mac

2024 Update: I have a short video outlining my end-to-end process for subtitling all my videos on YouTube using Whisper/MacWhisper:

.embed-container { position: relative; padding-bottom: 56.25%; height: 0; overflow: hidden; max-width: 100%; } .embed-container iframe, .embed-container object, .embed-container embed { position: absolute; top: 0; left: 0; width: 100%; height: 100%; }

Late last year, OpenAI announced Whisper, a new speech-to-text language model that is extremely accurate in translating many spoken languages into text. The whisper repository contains instructions for installation and use.

tl;dr:

Ubuntu's settings won't open after setting CPU to 'performance'

Recently I was doing some benchmarking on my Ubuntu 22.04 PC, and as part of that benchmarking, I tried setting the CPU performance profile to performance. In the old days, this was not an issue, but it seems that modern Ubuntu only 'knows' about balanced and power-saver. Apparently performance is forbidden these days!

$ powerprofilesctl list
* balanced:
    Driver:     placeholder

  power-saver:
    Driver:     placeholder

The problem was, I had set the profile to performance:

$ powerprofilesctl set performance

But suddenly the 'Settings' GUI app would no longer open (at least not after I had opened it and clicked into the 'power' section). A reboot didn't work, and even reinstalling control center (sudo apt-get install --reinstall gnome-control-center) didn't help!

When I tried opening the settings GUI from the command line, I got the following critical error: