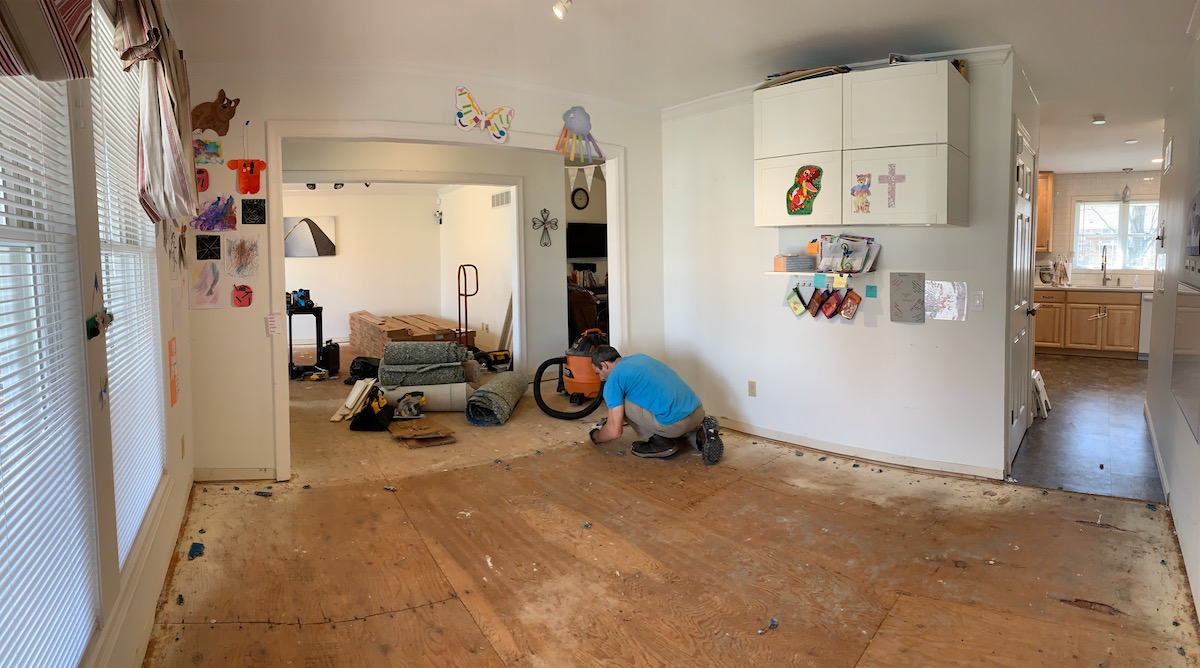
I love the look and feel of hardwood flooring. After we positively destroyed the oldest carpet remaining in one of the rooms of our house by using it as a temporary kitchen (two spilled smoothies and a spilled kids art paint set sealed the deal), my wife and I decided the time was ripe for replacing the flooring in not one, but all three of the front rooms of our house—our 'front room' (used currently as a large play area, mostly), the foyer (which was, until now, a kind of dead area with beat-up parquet flooring), and the school room (where all the kids school supplies, art projects, games, and toys are stored).
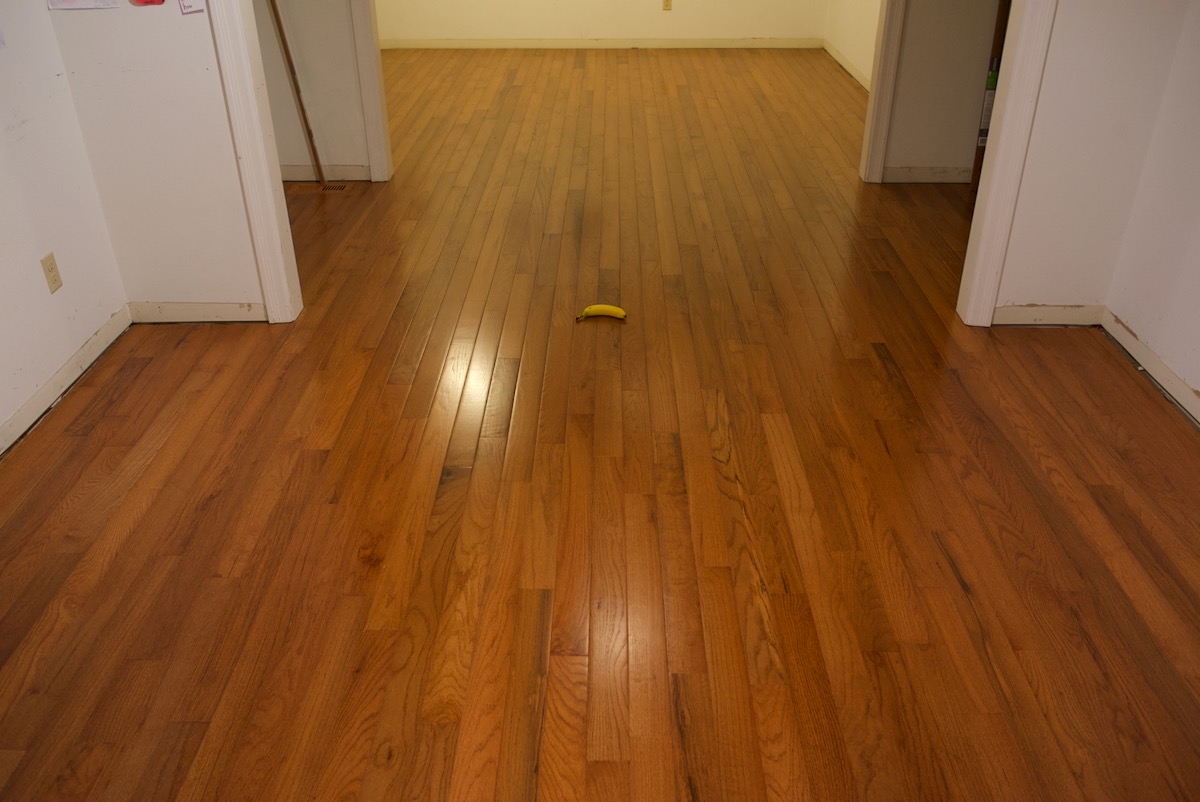
After looking at a bunch of different options, we settled on 3/4" oak hardwood floor, as it looked great, would hold up to the active abuse of three kids (and counting!) better than carpet, and would be able to be refinished many times if needed. My hope is that the flooring will last 100 years or more!

Flooring is not super complicated, but it does involve a lot of labor, and bending over. Who knew you could end up with bloody knees from wearing knee pads constantly for three days? I had my brother-in-law help with the project, and we were able to bag up all the old carpet and flooring in a Bagster, then install the new flooring in three days. Well, mostly—I had to get an extra box of flooring to finish up a few rows this weekend.

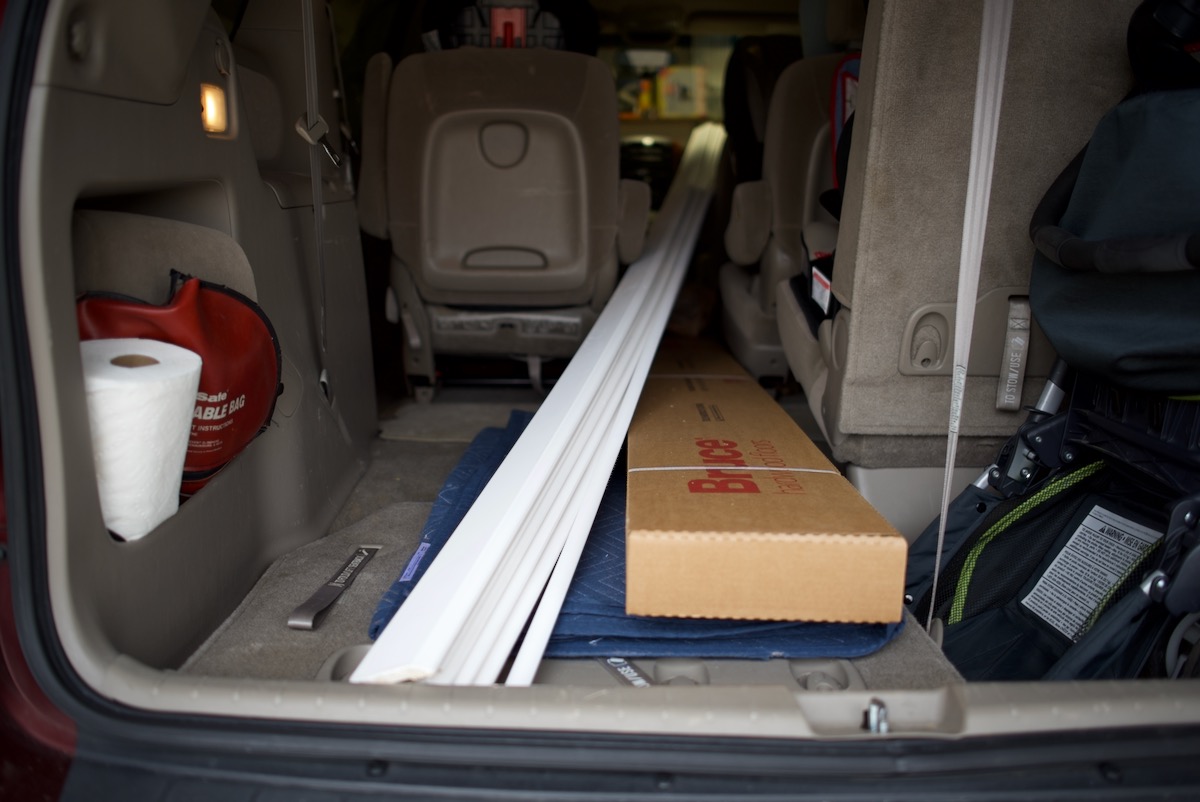
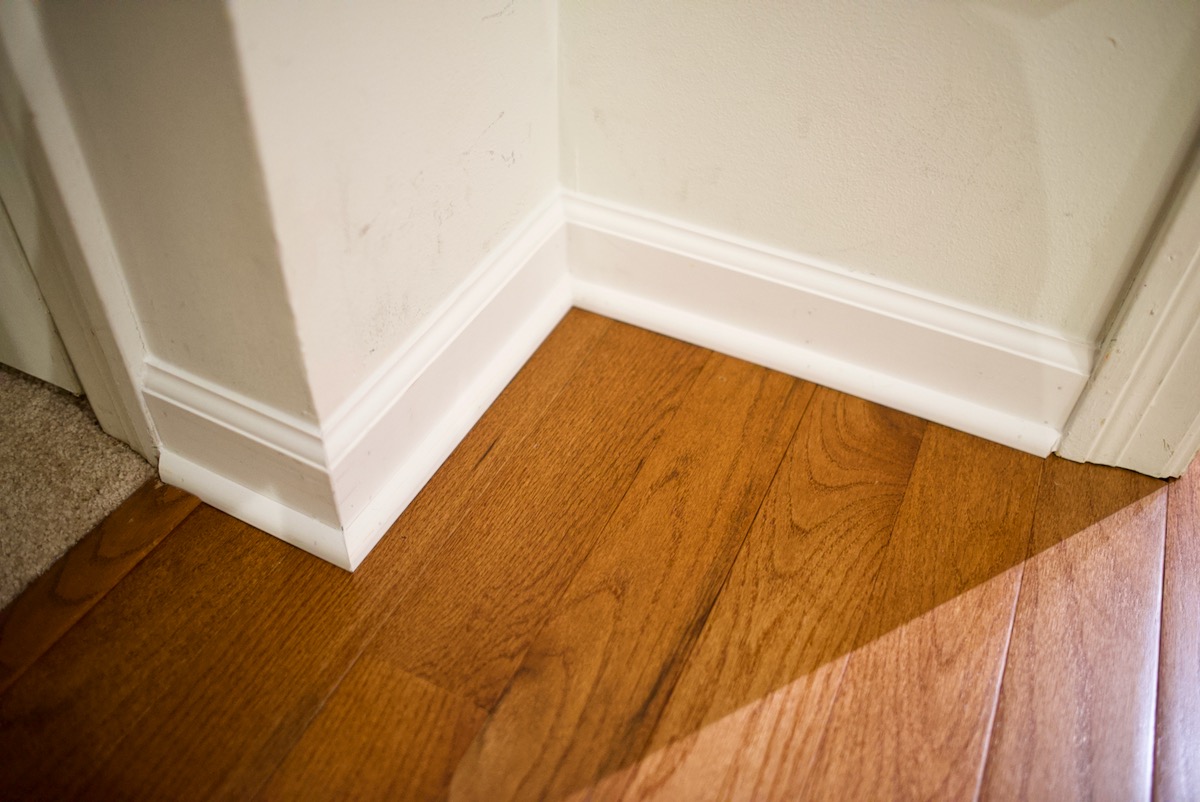
I also discovered our Toyota Sienna can fit many 12' lengths of wood quite easily, so I loaded it up with base and shoe molding, and have been installing that over the past week when I get an hour here or there:


You can view a full album of progress pictures with a description of the process on Imgur: Ripped out carpet and parquet for new 3/4" hardwood floor.
I also posted a few time-lapse clips of the demolition and installation process here: 3/4" hardwood flooring installation timelapses.
As with most projects I take on, I like to post any important lessons I learned, so next time I do hardwood flooring, I'll have a leg up!
- Consider buying a slightly higher grade of wood. Bruce rates the Frisco class of hardwood as 'Good' (in a Good-Better-Best system), meaning there are a number of boards with gnarly knots, very noticeable differentiation in grain pattern and color, etc. This meant I had to toss about 5% of the boards that would not hold up well or be easy to refinish... which meant I had to buy an extra box of boards to complete the project, and had a lot more waste at the end.
- Invest in the best knee pads you can buy; even with some decent knee pads, I ended up having painful strawberries from chafing on the front of both knees for about three days. Your knees will hurt no matter what, but hopefully it will be a little less if you have good knee pads.
- Buy a drip-free spring-assisted caulking gun. My parents bought me this Newborn drip-free gator trigger caulk gun for Christmas, and it made caulking SO much easier and cleaner than with my old cheapo $5 caulk gun.
- If you think it will take more than two days to lay the flooring, consider buying a floor nailer from Harbor Freight (or even a cheaper one from a big box store), then selling it for half price on Craigslist later. Otherwise, you might end up paying more for three or four days renting it than you would've buying one new!
- Having a nice small molding pry bar and a couple tack lifter tools made the process of removing molding, staples, and tack strips much easier.
- A miter saw is essential for this project, and a table saw helps a lot too, though if I had to choose one or the other, I'd stick with my compound miter saw.
- The right nails are essential to ensuring the flooring stays put, and also so the installation is efficient: I rented a 16 gauge pneumatic flooring nailer with 2" 16 gauge flooring cleats, and for end boards (close to the walls) I switched to a 15 gauge pneumatic nailer with 1.5" 15 gauge angled nails.
The full project cost about $3,100 for materials and tool rental ($2,800 for materials, $300 for rentals), though I already had a number of the essential tools needed for the project including an air compressor, compound miter saw, table saw, oscillating tool, pry bars, and a few hand tools that are essential to a flooring project.
Comments
Nice post. Did you get an estimate from a contractor? I'm curious to see what they would have charged vs the $3,100 is cost you to do it yourself.
The floor looks like it came out great.
No, didn't get any bids for this project, so can't help much there. I would imagine it would be at least double for materials + labor, probably more.
did you rip your own splines or can they be purchased? I have the same situation and like how you started in the middle going both ways
I bought a package of these splines from Home Depot: 1/4 in. Thick x 1/2 in. Wide x 42 in. Length Hardwood Spline (10-Pack). Happy to spend less than ten bucks to save a bit of time trying to cut down my own!
Good luck!
Thanks for the info! How did you level the low spots of the subfloor? I have some areas that are greater than 3/16" out of level. Considering adding several layers of Aquabar B to bring it up to an acceptable range.
That's a good question. In one area of my house (working on a previous laminate flooring project), I did end up adding some leveling compound, though it was a bit messy and I'm not sure if it'll hold up over decades of use. So far it's been good though!