Please read this article for background/more info: iPhone/iPad external microphones
[Update] Here are a few other commercially-available tripod mounts:
- Smartphone Tripod + Mount (review of the unit I bought - only $7!)
- The Glif - (elegant stand/mount for iPhone 4 - $20)
- SnapMount iPhone 4 Tripod adapter (simple yet sturdy - $18)
- OWLE Mount (Crazy expensive, but nice)
- Some other Tripod Mount Ideas
In earlier posts, I've written about my new highly-portable audio/video recording setup, using an iPhone 4 and an external microphone. Getting great sound is half the game, when it comes to video recording. The other half is a stable platform by which to record. (Yet another half—making more than a whole—is good content to be filmed... and great editing...).

After watching this video on YouTube, I was inspired to make my own DIY tripod case/adapter for my iPhone 4. And, in lieu of making a video about it, I figured I'd just give a quick step-by-step of the build, along with a parts/price list, like I did for my DIY Blue/Greenscreen Backdrop.
Parts Required

The total cost of all these parts? $9.25 (Some parts include the Lowe's part numbers—most everything was found in the hardware aisle (heh... in a hardware store...).
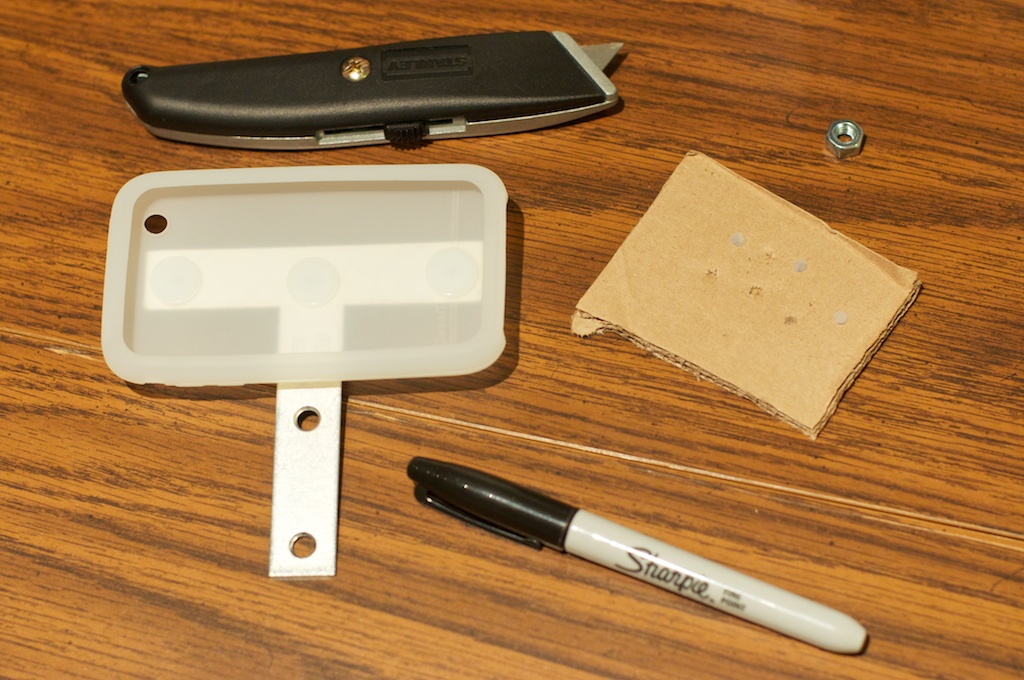
- Stanley 4" ZN T-Plate (2 pack) - $3.26 (#315657)
- 1/4 x 20 Hex Nut (single) - $0.04 (#63301 - although a winged hex nut would be better)
- Nylon Push in Fastners (375N - 2 packs of 2, from Home Depot) - $0.96
- iPhone case - pretty much any silicone case will do—3G/s cases work fine with the iPhone 4, bye the way (this one was $4.99)
Putting the Parts Together
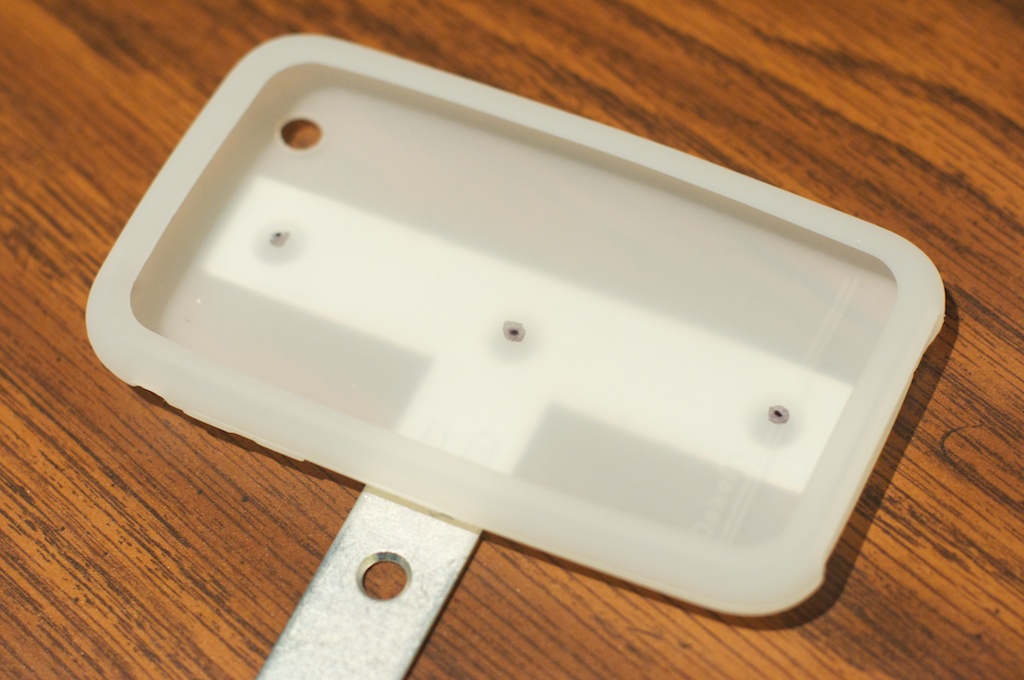
Step 1: Put Silicone iPhone case on top of the crossbar portion of the T-bar (see image), and mark the hole locations with a permanent marker. Using a razor blade/knife, cut small holes (about 1/8" diameter) where you made the marks (using a piece of cardboard as backing is a great idea!).

Step 2: Push the Push in Fasteners through the holes you cut in step one, securing the iPhone case to the T-Plate. (You could already start using this as a tripod adapter case, by mounting it on the tripod in a vertical position.

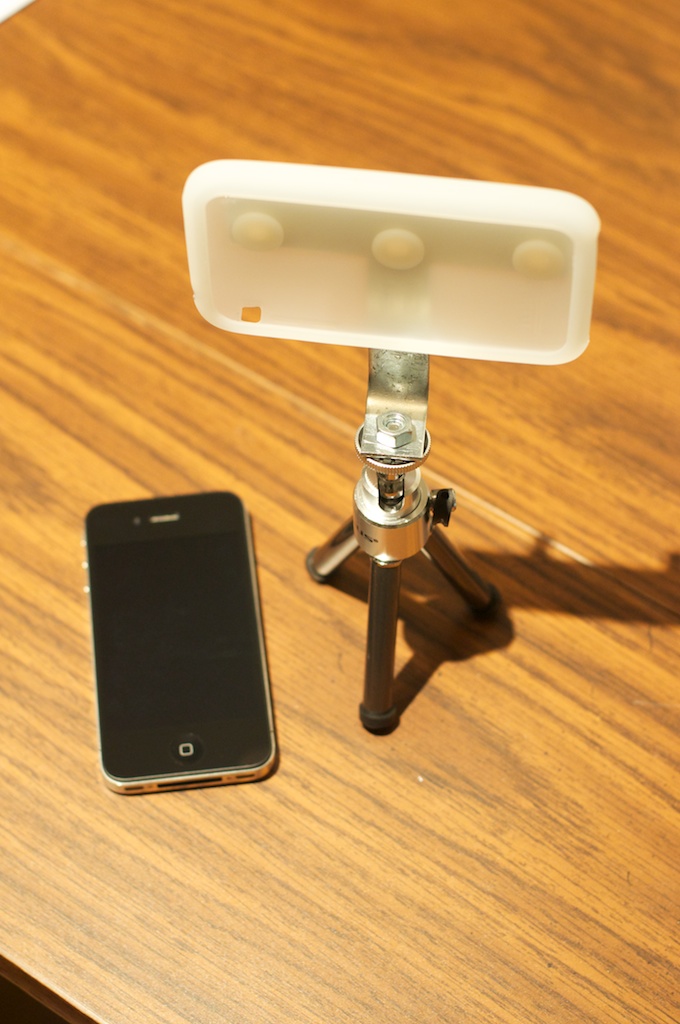
Step 3: (Taking off the case is optional, but may help you a bit). Using two pliers, or a vice and some brute force, make a 90° bend in the T-Plate just above the bottom screw hole, bending the T-Plate towards the same side as your iPhone case is situated. Mount the tripod adapter to the tripod using the Hex Nut (a winged hex nut is much easier to use).

In the end, you'll have a nice, relatively-secure iPhone 4/3G/3Gs (heck, even the original iPhone will fit) tripod adapter. It's just too bad one can't do long-exposure photography on the iPhone, as the tripod would also help with that.
Notes:
- Since I was using a 3G/s case, I had to cut the camera hole a little bit to make the iPhone 4's camera fit within the hole properly.
- You could, alternatively, bend the T-bracket in some other fashion, or not at all, keeping in mind the balance of the iPhone while mounted on this tripod adapter—if you're using a tiny tabletop tripod, it might fall over if you have uneven weight distribution.