About ten years ago, I bought a pair of used JBL J520m bookshelf speakers. They have nice, wood cabinets, a great-sounding woofer and tweeter, and a classic look (they don't really look dated, like 90% of 80s and 90s-era speakers).
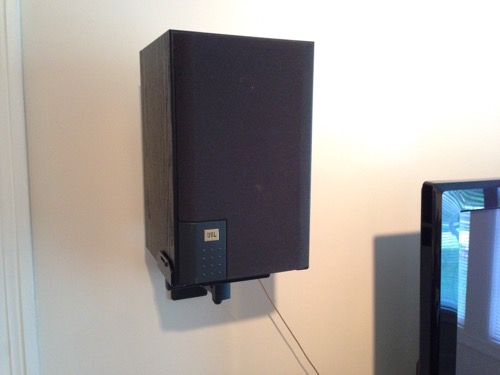
Doesn't it look stately?
Whenever you buy used speakers, you should check the woofer cone and foam surround, as these are usually the first parts to deteriorate and cause terrible distortion in certain situations. In my case, the speakers had been stored in someone's garage for a few years, so I knew the foam wouldn't last long. When purchased, the foam flexed okay, but this year I noticed both speakers started making funny noises during explosions or low bass notes during movie and music playback.
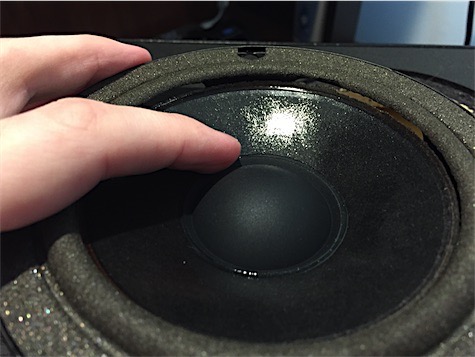
A sure sign of dry rot—and flaky sound!
Instead of purchasing two entirely-new speakers (and dropping another $200+ on my home theater system!), I looked into my options for refurbishing my older speakers (since I was happy with their performance and look):
- I could replace the foam surrounds with new foam or rubber.
- I could replace the entire woofer speaker assembly.
Option 1 is definitely cheaper—for almost any popular speaker brand, there are foam or rubber surround replacements for $25 or less, shipped. In my case, I found a Speaker Foam Edge Repair Kit for JBL by Simply Speakers, and the kit comes with two foam surrounds, a tube of seriously sticky foam glue (it's almost like superglue!), and some instructions.
Option 2 is more expensive—and depending on your speaker, it might be impractically so. After only finding single woofers here and there (in varying states of decay) on eBay, I decided to see if I could get replacement woofers (JBL part number P205G/76431), and I was lucky to find a company that builds reproductions (the original woofer isn't manufactured anymore), Midwest Speaker Repair. They sell a replacement almost identical to the original woofer, model #MW-5050.
But I thought the DIY foam replacement route seemed easy enough, so I started with option 1. I had the best intentions.
Things were off to a great start after I had the foam in hand:
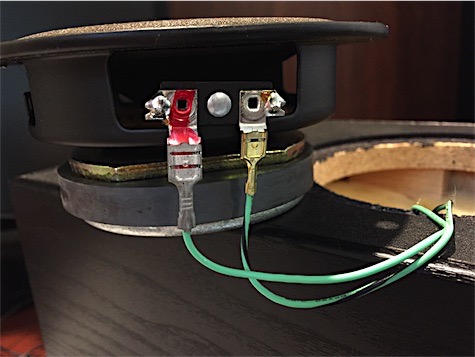
Unscrew and unseat the woofer, taking note of the positive/negative connections...
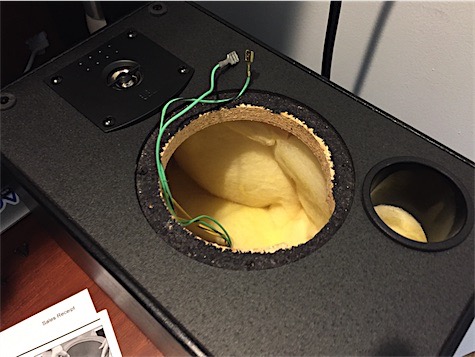
Pull the connectors and now the speaker cabinet is about 2 lb. lighter!
The first step in replacing the foam is the removal of the old foam. In my case, I used my fingers to grab away the majority of the foam, then I used a cotton swab to soak the remaining foam in 91% rubbing alcohol, and carefully scraped off what I could from the metal ring with a sharp wood chisel.
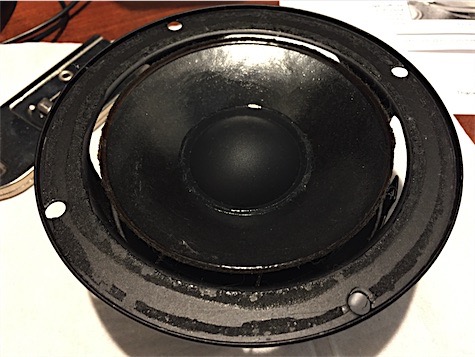
So far, so good!
The next step is to put a ring of glue on the edge of the cone, then quickly message the inner part of the foam onto the top surface of the cone. This went pretty well, though there was a bit of glue that would get stuck to my fingers, so I got a little on the cone itself. Not too bad, but could've done better:
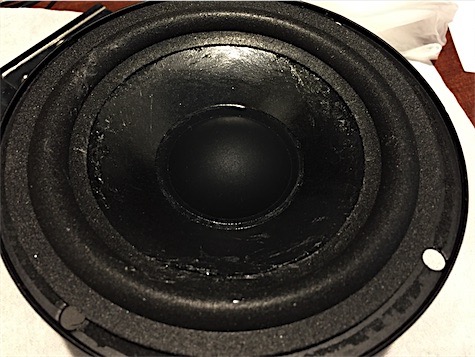
A little messy, but nothing detrimental to the sound quality...
After waiting an hour for the glue to dry on the cone and inner part of the ring, I went to work quickly getting down some glue on the woofer's metal mounting ring, then squishing the outer part down flat.
This is where things started going off the rails:
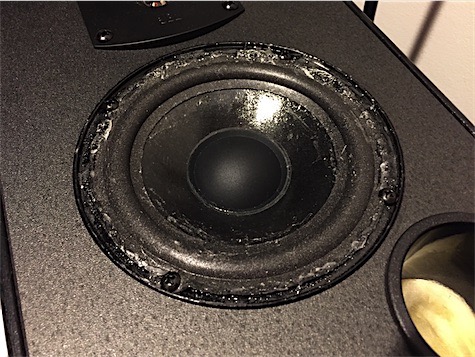
That is not how the speaker looked in the videos!
What happened? Well, first I put down a light layer of glue on the metal ring, then I worked my way around pressing the foam down. But since the cone made the foam itself want to warp slightly upward, I was fighting against the foam's natural desire to stay at an angle.
So then I had the bright idea of putting down a little more glue, and holding it in place for a little bit. That didn't really work out. Instead, I got glue everywhere. It starts to dry pretty fast (less than a minute), but before it fully dries, it turns into a tacky, sticky mess... and that's how you end up with the result in the picture above. Here's a demo video of what the speaker sounded like before (with dry rot/original woofer) and after the #diyfail, and then after installing a brand new aftermarket woofer:
Note: The demo song is Knick Knack Paddy Whack by SteveSongs. When you have kids, you can't demo your sound system with the grungy rock and hip hop songs you used to use :)
After trying out the speaker (with the cover back on—nobody wants to see that messy woofer!), and finding it to be much worse than before the foam was connected at all (I must've messed up the cone's alignment so the voice coil hit the cone during louder notes), I decided option 2 might be the better course.
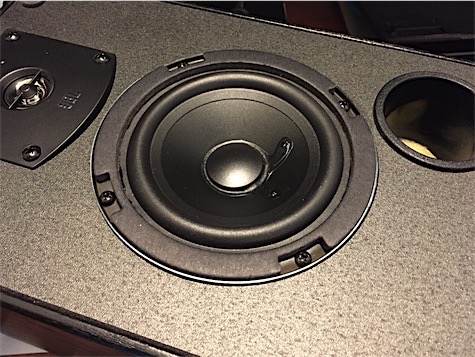
Not an exact match for the originals, but they look and sound pretty good!
So now I have two new woofers, both with rubber surrounds. Hopefully they take these speakers from the 80s into the 2040s and beyond!
Comments
You used too much glue and didn't center the surround using a tone generator while gluing.
I have used Parts Express's foam kits, and had success. I agree that the kits from Simply Speakers include glue that makes you work FAST. It is indeed possible to do the job though! It takes practice to get good at it.
About to perform the same refoam job on a set of JBL 6.5" midranges from a set of J620M's I found at GW for $5. I appreciate you posting your experience. I think for others who find this page, it might be useful to note that you want to remove as much of the glue as possible from the OEM install. I used a straight edge Xacto knife. It took some time. It also helped me to remove some for about 30 minutes (be careful), wait 12 hours, let the remaining glue contact some air, and then go back and do it one more time. The second pass I was able to lift most of the remaining off the metal. Overall this should help the re-glue process and prevent interaction between old and new adhesive.
You didn't mention centering the voice coil (can use some popcycle sticks..) before gluing. That's an important step.
How did you get the grille off the speaker?
It uses four friction pegs, you just kind of yank off the front grille—if it's really tight, you could use a small slotted screwdriver or spudger to try to slowly pry it away on top and bottom (probably bottom first, in case you accidentally tear any fabric).
Interesting story.... so is comparison, does the new replacement woofer meet your expectations audibly? The specs are close but not quite the same on the low end. Overall, is the replacement a quality component? Thanks
These speakers are still doing great in my house (even with the kids throwing things at them from time to time!), and to my ear, they sound just as good... well, actually better, since they're intact! But if you measure them they might not perform to the original standard.
I ordered a pair for an old set of Infinity RS-1000 which have been in the family for years. Will probably refoam the original woofers as I have done it before with success. I appreciate your response.