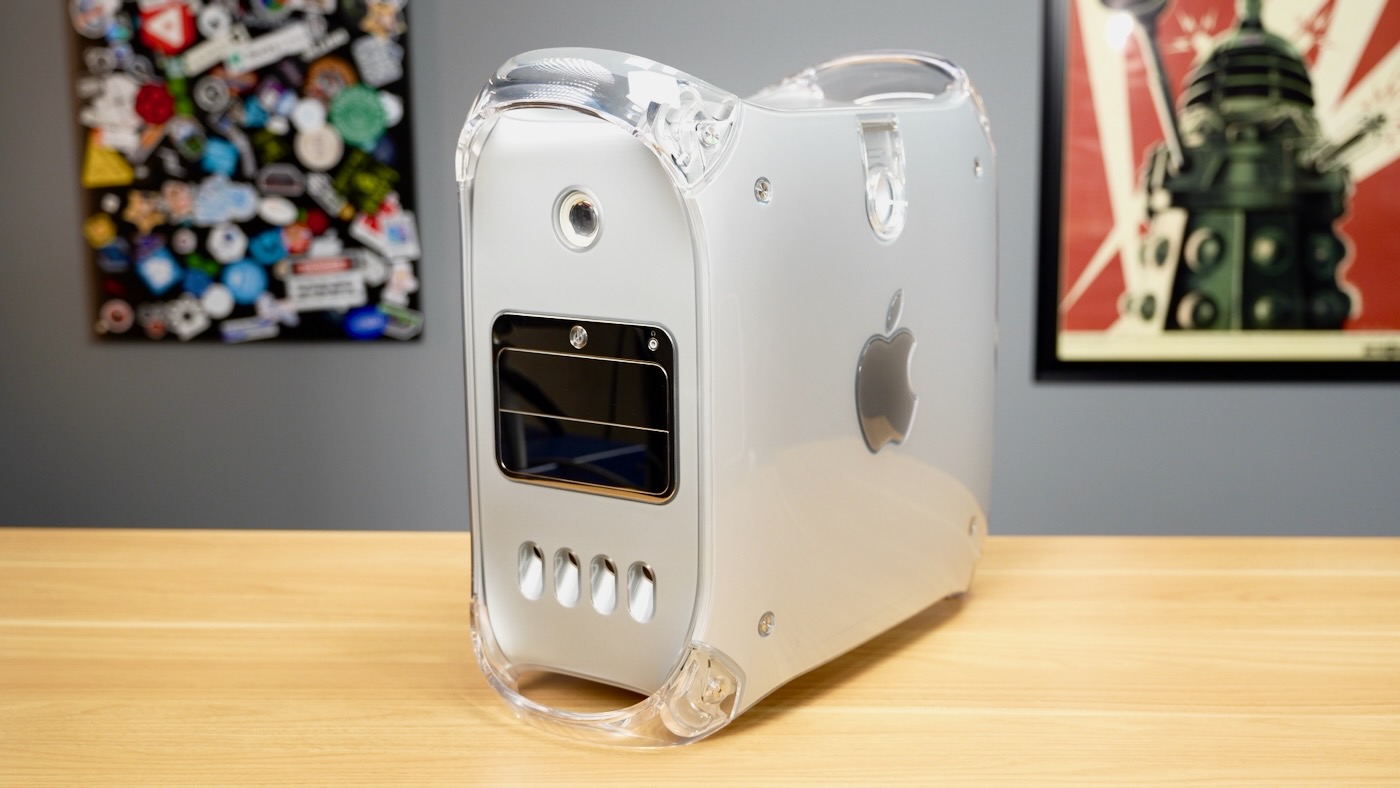
This blog post will serve as my long-term build log for the Power Mac G4 MDD I started restoring in the video Retro Computing Enthusiasts are Masochists in early 2024. See also: Build log: Macintosh PowerBook 3400c.
The G4's swan song
Apple's Blue-and-White G3 brought a bit of fun into the industrial design of Apple's pro desktop line of Macs. The four-handle polycarbonate design language progressed through a few generations of G3 and G4, culminating in the 'Mirrored Drive Door' model.
This model is also nicknamed 'Windtunnel' for the amount of noise it generates. The original G3 minitower ran a single 300 MHz G3.
The MDD came in configurations with up to two 1.42 GHz G4 (PowerPC 7455) CPUs, two full-size optical drive bays, and even more expansion.
The chassis was hitting thermal limits, so Apple stuffed it with high-CFM fans. They also put four ventilation holes in front, and a giant air scoop on the bottom, to feed those massive fans as much air as possible.
Even with the improved ventilation, and the giant grid of holes in the back, this machine was known for its wind noise. My MDD was no exception.
For an great overview of this machine, check out Psivewri's video Using Apple's Pro Desktop... From 21 Years Ago!.
My G4 MDD
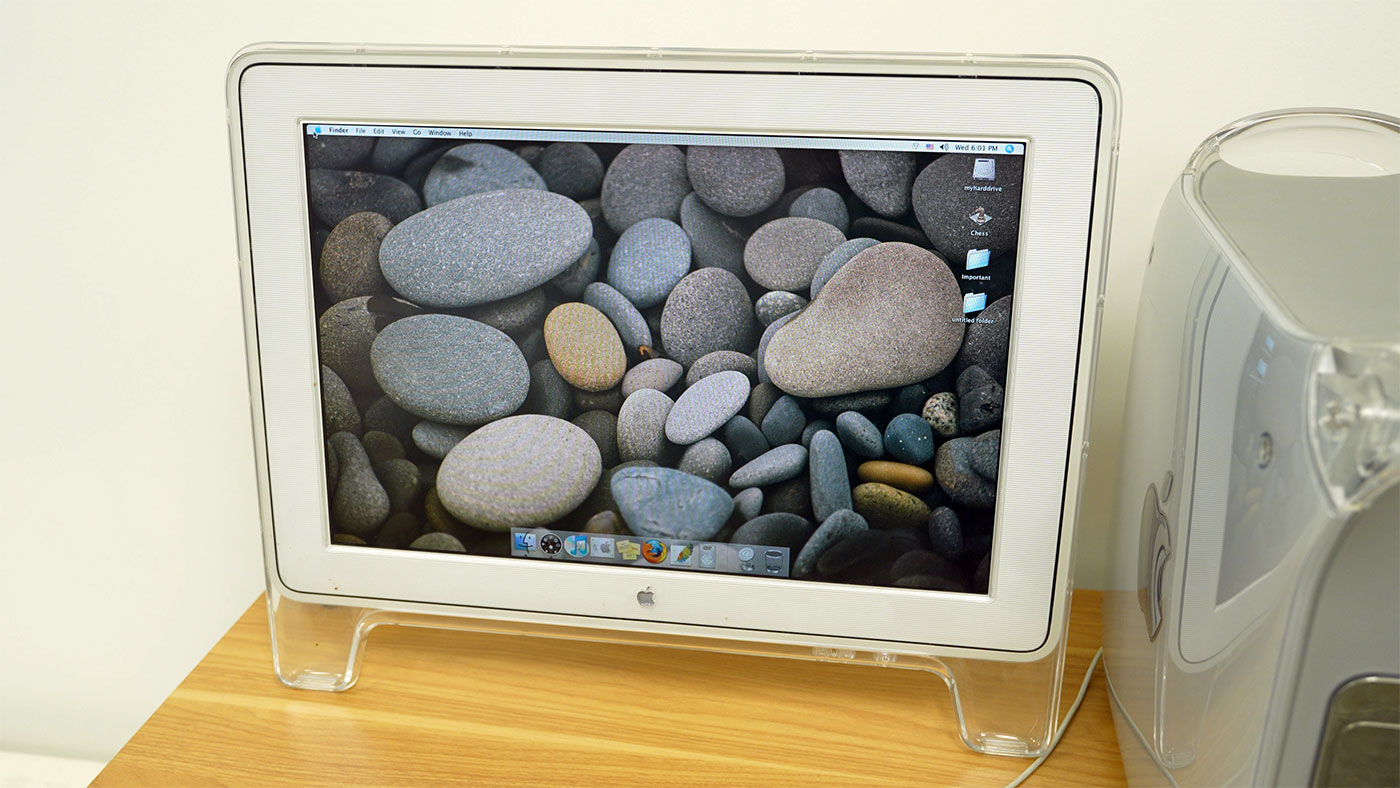
I was fortunate to get this MDD along with a 22" Apple Cinema Display—the 'ADC' model which uses a proprietary connector carrying power, USB, and DVI signals in one massive cable.
Both were in original packaging, and in good shape. The G4 came with a white 'Apple Keyboard', and a cheap two-button scrollwheel mouse. Everything had a little evidence of coffee stains, and it was also a bit dusty.
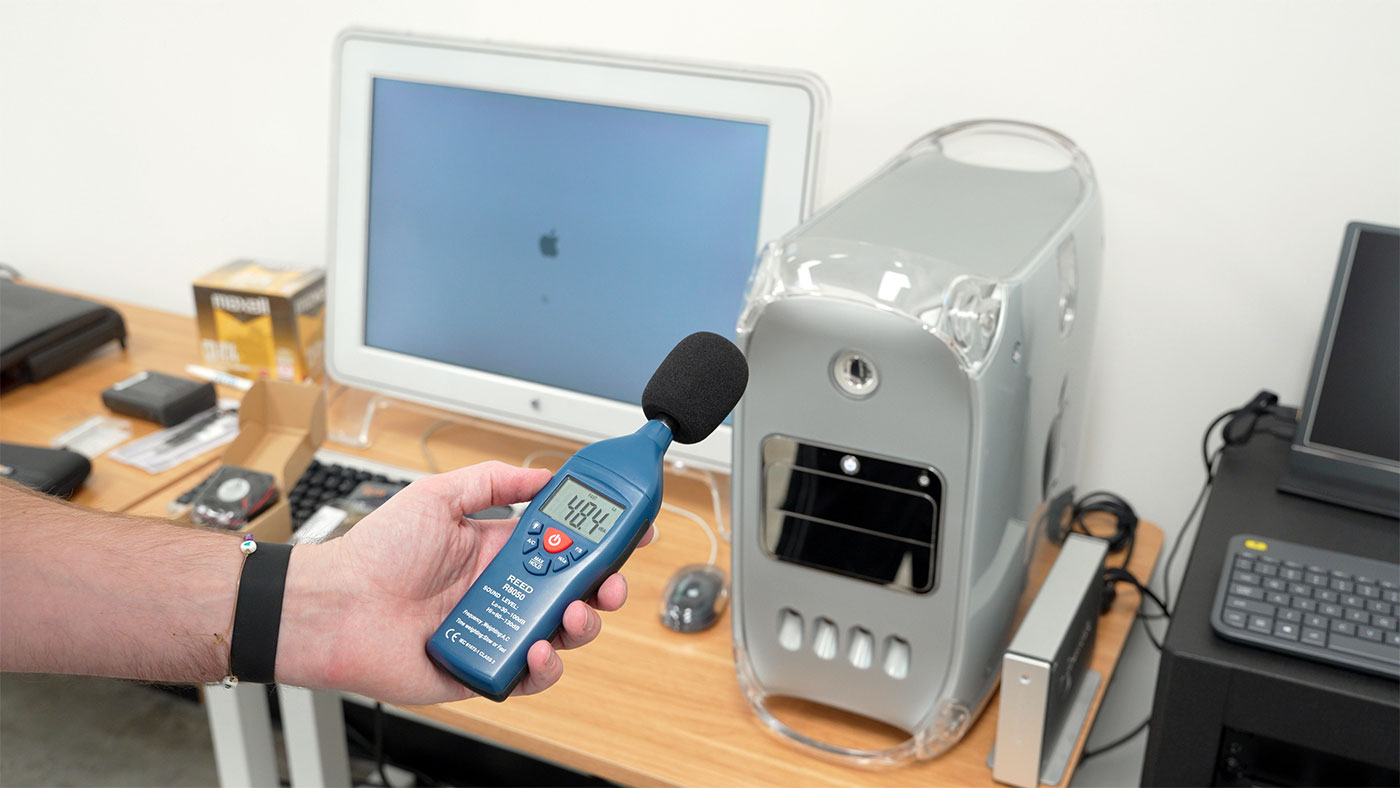
I powered it up, and immediately understood the nickname. I had owned a Blue and White 'Yosemite' G3/300 and Graphite 'Yikes' G4/400, both with some pretty tame fans. The MDD had a server-grade power supply with two noisy 60mm fans, and a larger 120mm high-CFM system fan. All of these fans' bearings were showing their age, and the system idled around 48 dBa, measured a couple ft away:
But everything worked—the hard drive spun up, it booted into Mac OS X 10.4, and it included the install discs for 10.4, iLife '06, Corel Painter IX, Adobe Photoshop CS, some audio composition software, and a few games of the era!
First impressions / inventorying the issues
The most jarring issue was fan noise, followed closely by a bashed-in speaker. The earliest G4 MDD models didn't have a protective grill covering the shiny speaker cone, and curious hands would often find their way into that area, turning the speaker from an acceptable tone to a crackly, muddy mess.
The inside was a bit dusty, and the hard drive felt quite slow—and add on the fact USB 1.1 ports were a crippling 12 Mbps. At least the system also had FireWire 400 and Gigabit Ethernet!
It also came with an old Acomdata 240 GB external FireWire hard drive. I owned the same drive back when I edited video on my old G4/400; it was one of the cheaper options if you didn't want to pony up for a fancy LaCie drive!
Maxing out the RAM
The first task was upgrading the RAM. Since 512 MB sticks aren't that expensive today, I ordered four PC3200 DDR DIMMs from OWC. The description said it was compatible with PowerMac3,6, which is the model for my dual 1.0 GHz MDD... and after I installed the sticks, they showed up. Sometimes.
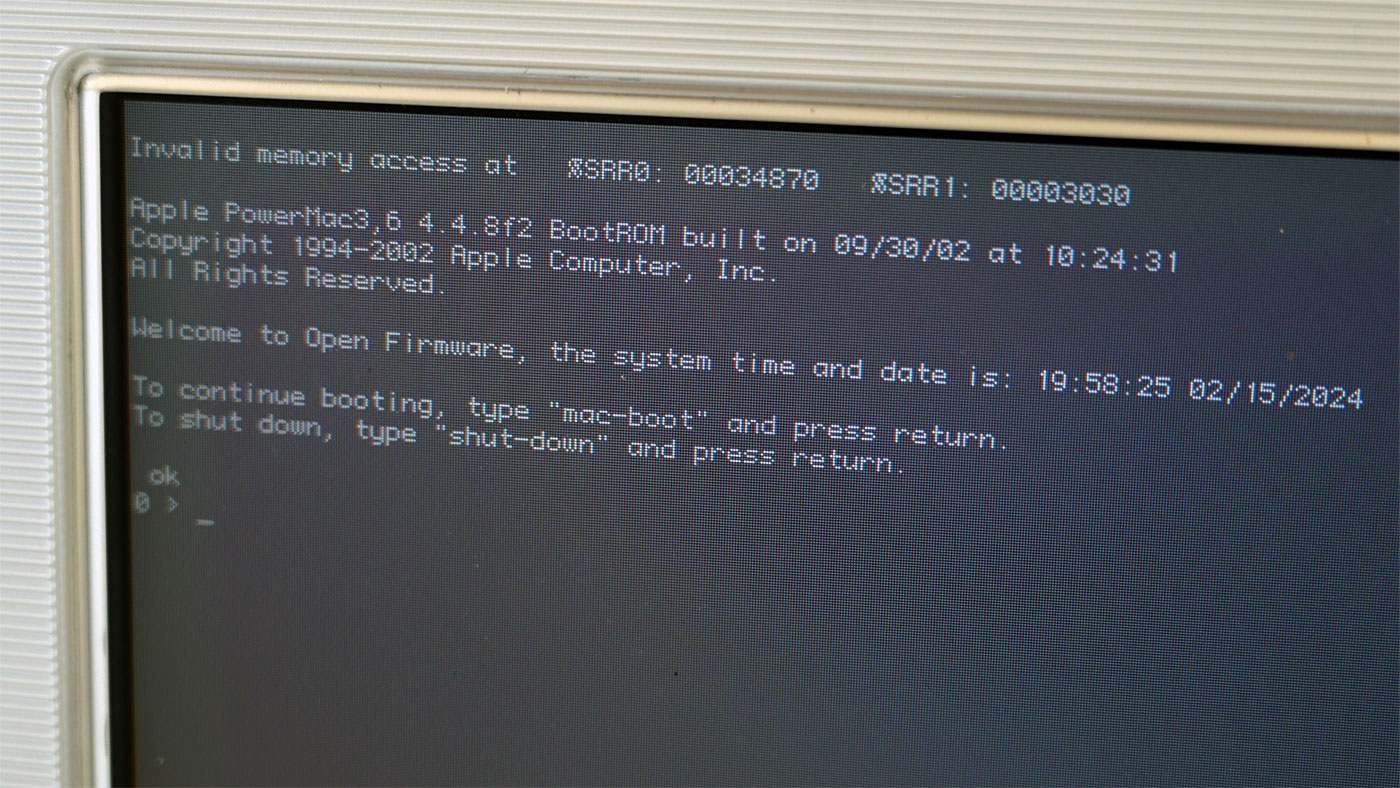
I was having weird issues with the memory, so after finding the machine takes PC2700 natively, I ordered a set of four PC2700 DDR DIMMs, which were much more reliable.
They were also a few bucks extra, and now I have four sticks of PC3200 RAM, but maybe that'll give me an excuse to get into a G5 someday...
Cleaning the system
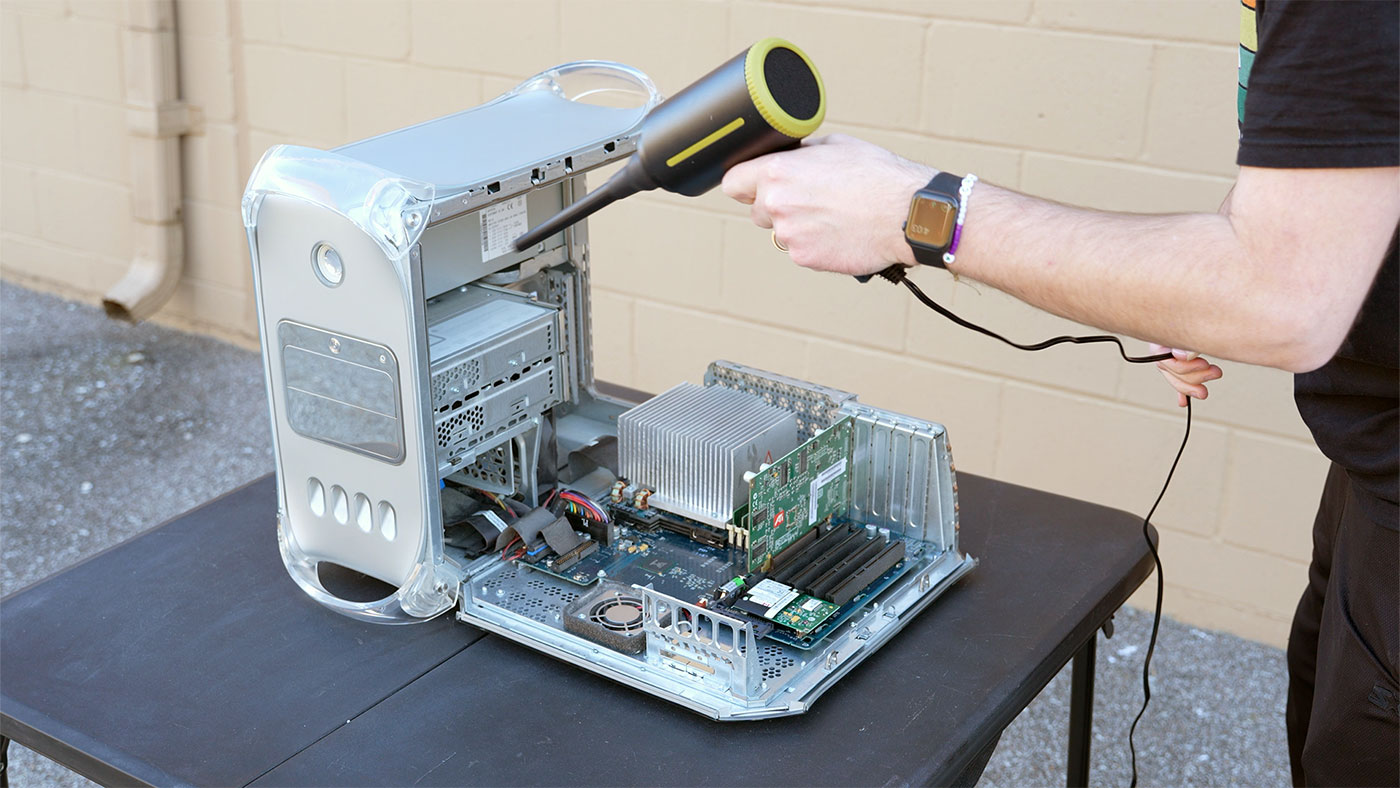
This was a simple affair. The G4 has the easiest access of any minitower I've used. I took it outside, opened up the side panel, and gave it a good blast with my $50 ATEngeus Compressed Air Duster. I had recently purchased this air duster instead of the more expensive DataVac, and I gotta say... it feels just as nice and works a treat.
With the dust gone, I brought it inside and gave every surface a good scrub with Windex. There's only one area with some scratches, but instead of buffing them out with some plastic polish, I left them.
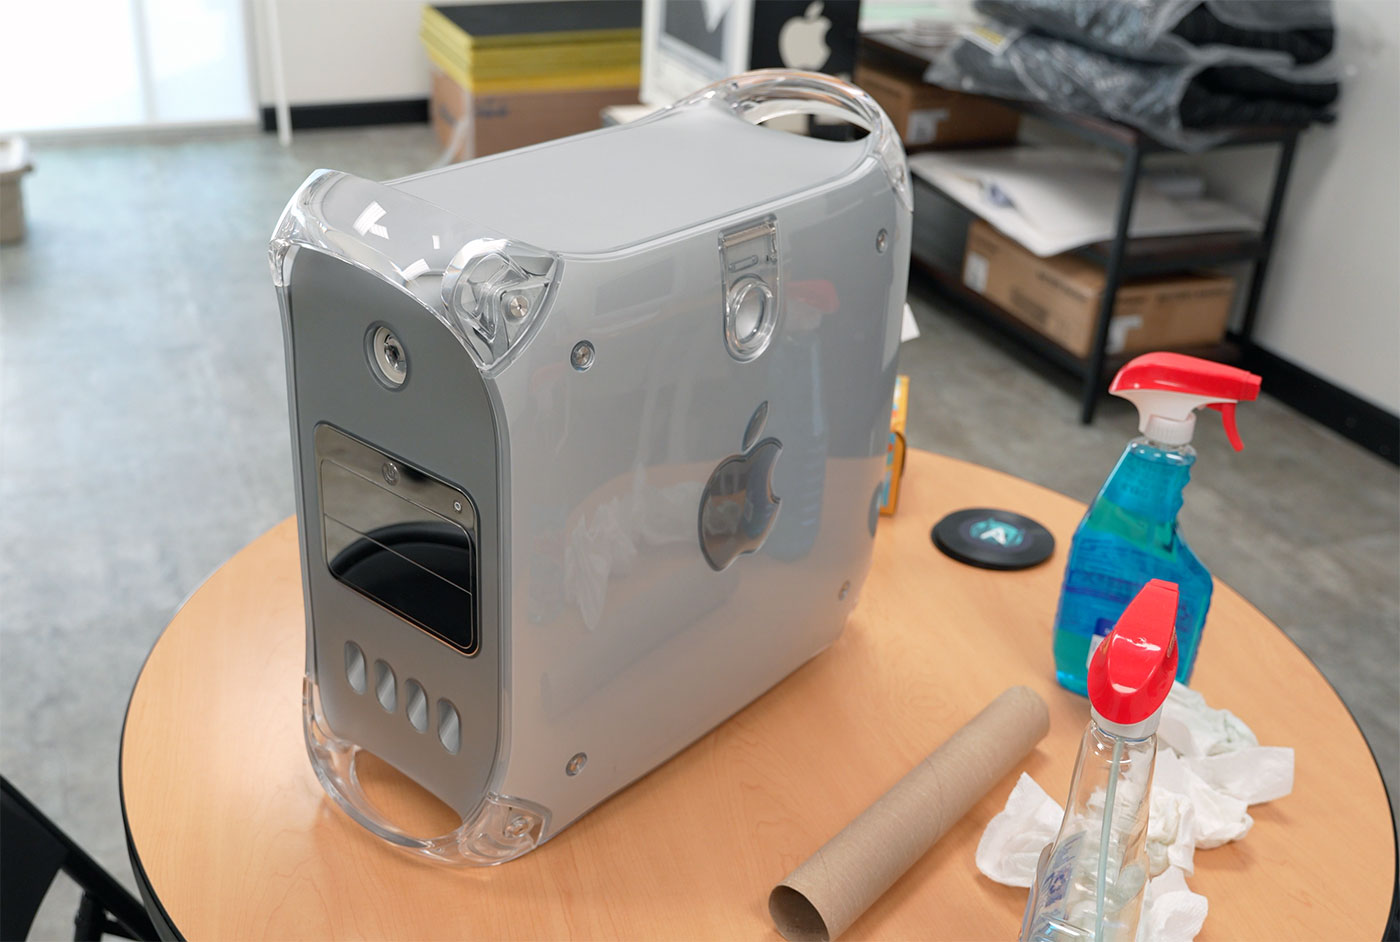
The mirrored drive doors are truly mirrors, once they're all shined up and free of dust and fingerprints!
Quieting the wind tunnel — fan swap
The fan noise was the most annoying aspect of this machine—I could hear the drone of those fans from two rooms away, especially since it sounded like the bearings on the smaller server fans were a bit worse for the wear.
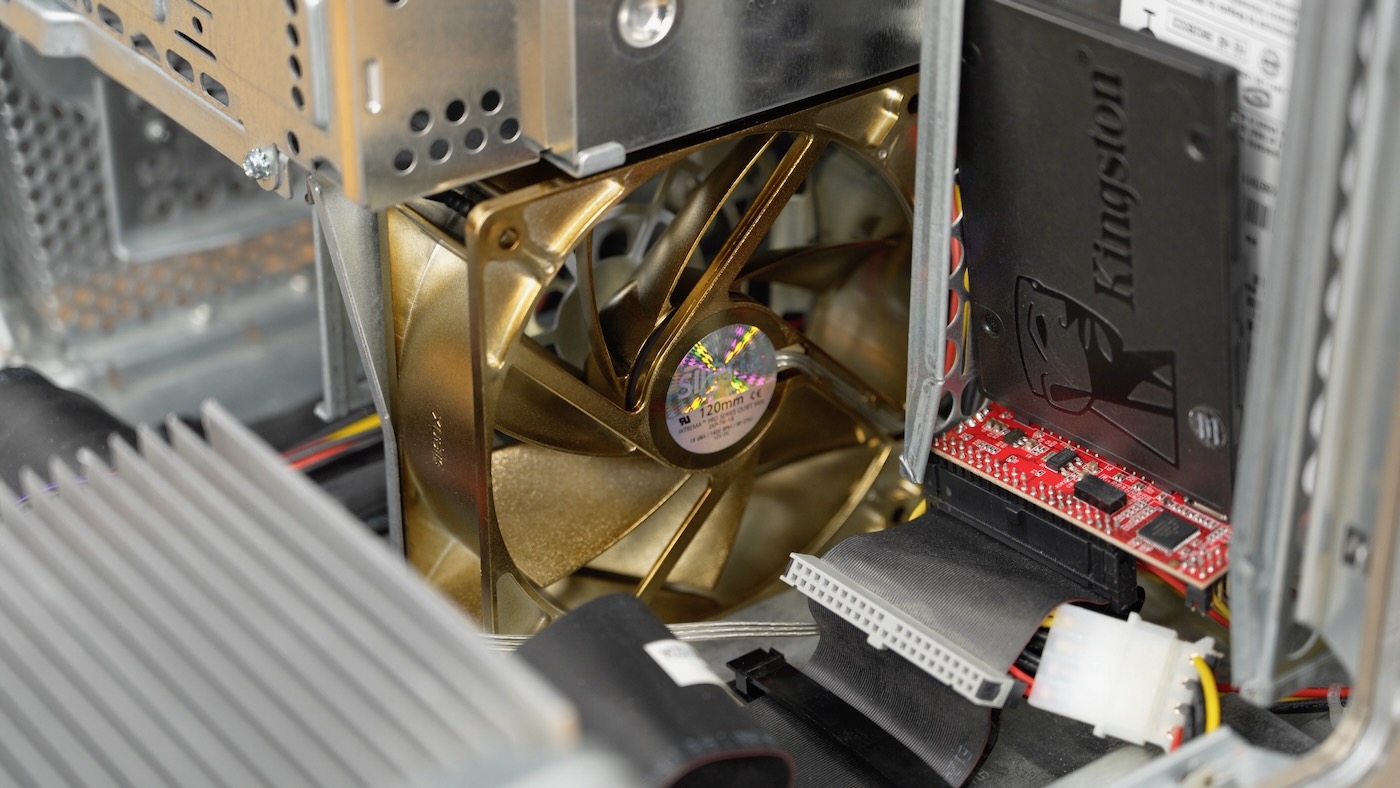
I elected to use like-for-like replacements, just slightly quieter high-CFM models:
- $26 SilenX IXP-76-18 iXtrema Pro 120mm 90cfm fan (replace the main system fan)
- $17 GDSTIME 60x60x25mm Cooling Fans (replace the two PSU fans)
The SilenX fan feels a bit cheap in comparison to the beefy fan Apple included in this system, but it's got it where it counts. It's a bit quieter, especially without the metal grill facing the CPU cooler (creating a bit more turbulence and noise).
The GDSTIME cooling fans are high-CFM like the ones they replaced, and still a bit noisy, but at least the bearings don't have the 'grinding' sound the old ones did. Getting into the PSU was a bit tricky, especially since I wanted to operate on it without disconnecting the power cable loom that runs behind all the main components.
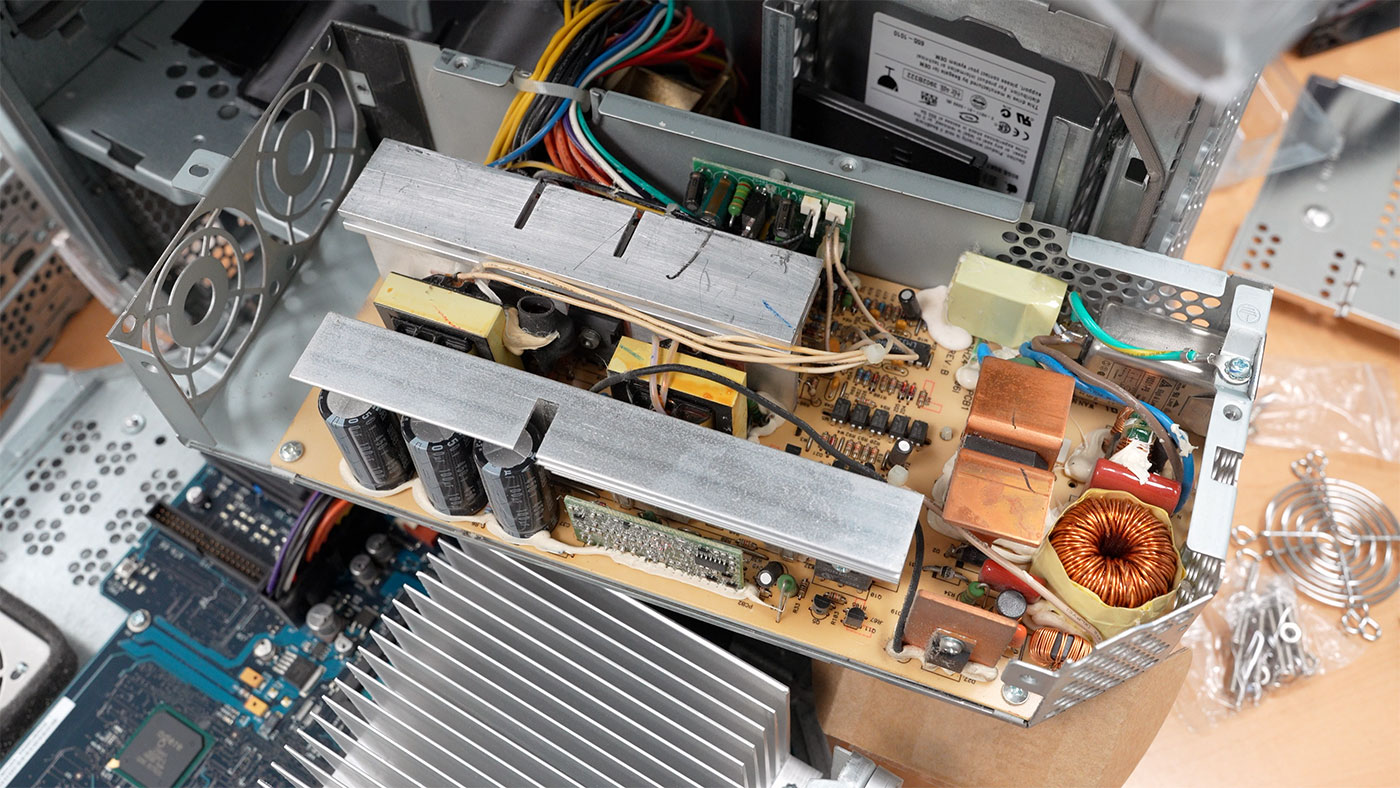
The PSU has some beefy caps—be careful opening any PSU, you don't want the mighty jolt one of those will give you if you bridge the contacts! But removing the fans wasn't too difficult.
The most annoying part of this operation was pulling the little connectors out of the fan plug on the SilenX fan, and re-seating them in the two-pin connector that attaches to the motherboard for fan power. For the PSU fans, I just made sure to plug the new fans in with ground and positive in the right spot. Make sure you take pictures of everything before you start, so you can double-check polarity!
After the operation, the sound level was a more pleasant 41 dBa (down from around 48 dBa at the start).
PRAM Battery
While I was digging around, I thought it would be a good idea to swap in a new PRAM battery, as you do, and I replaced the existing 3.6V Lithium battery with a $15 Saft LS-14250 3.6V PRAM Battery from Amazon.
The battery... seems to work fine. So that's good. $15 is pretty steep, but I get this is a fairly niche battery. I just remember them being like $3 and available at Radio Shack when I was a kid!
Repaste CPUs
Since I imagine nobody had maintained this system since it was purchased 20+ years ago, I decided to re-paste the dual PowerPC 7455 G4 CPUs.
Removing the massive aluminum heatsink was easy enough, and sure enough, the thermal paste had gotten a bit crusty:
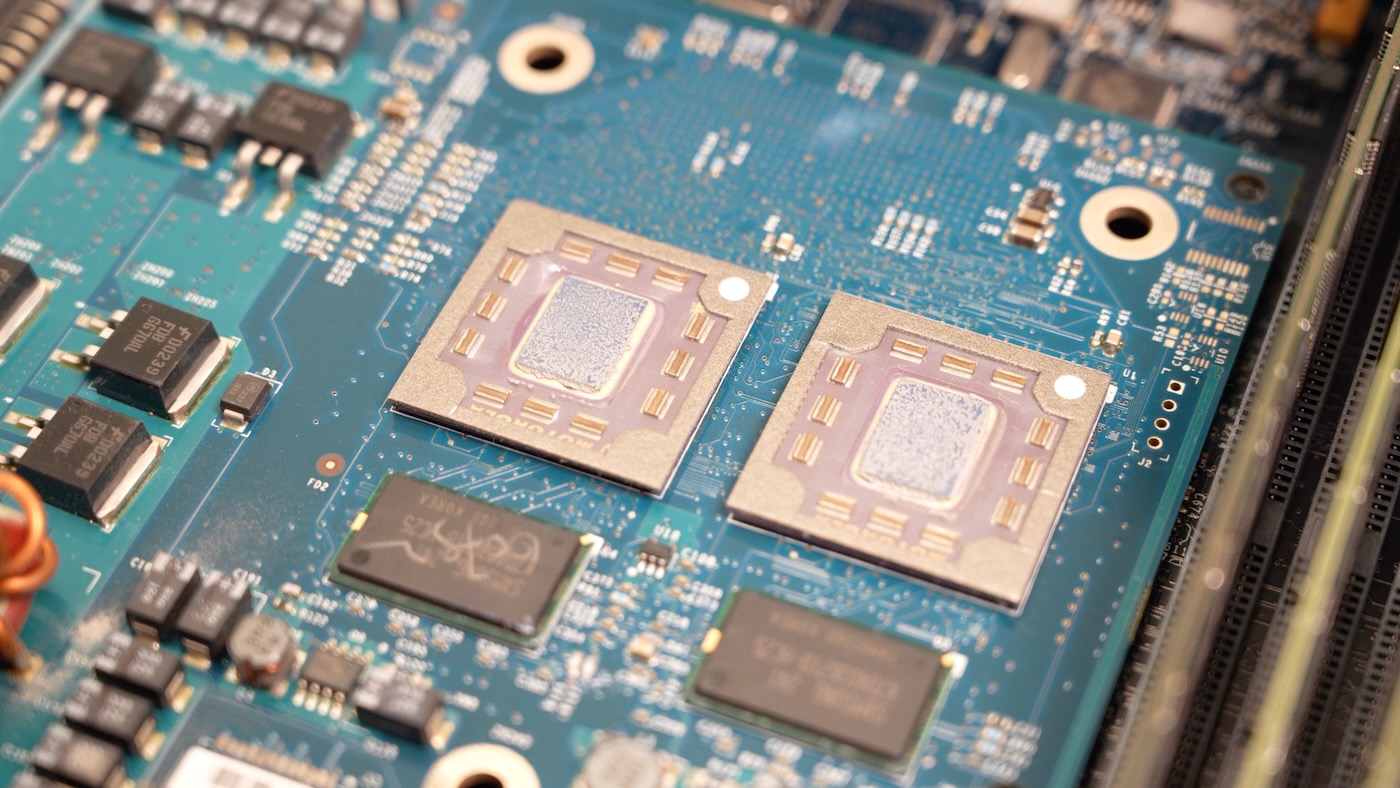
I cleaned off the existing crusty paste with a Noctua cleaning wipe, and repasted it with a small dot of NT-H2—just a dot, not a lot.
SSD Upgrade
Since this system uses 'Ultra ATA' (ATA/100) for the main system hard drive, I bought a $9 cablecc SATA Disk to IDE/PATA Adapter, and plugged in one of my Kingston 120 GB SATA SSDs.
This setup worked—but I had some issues. Partitioning using the Mac OS X 10.4 install CD worked sometimes, but not always. And after installing 10.4, booting would halt on the Apple logo from time to time—about 1/3 boots would fail.
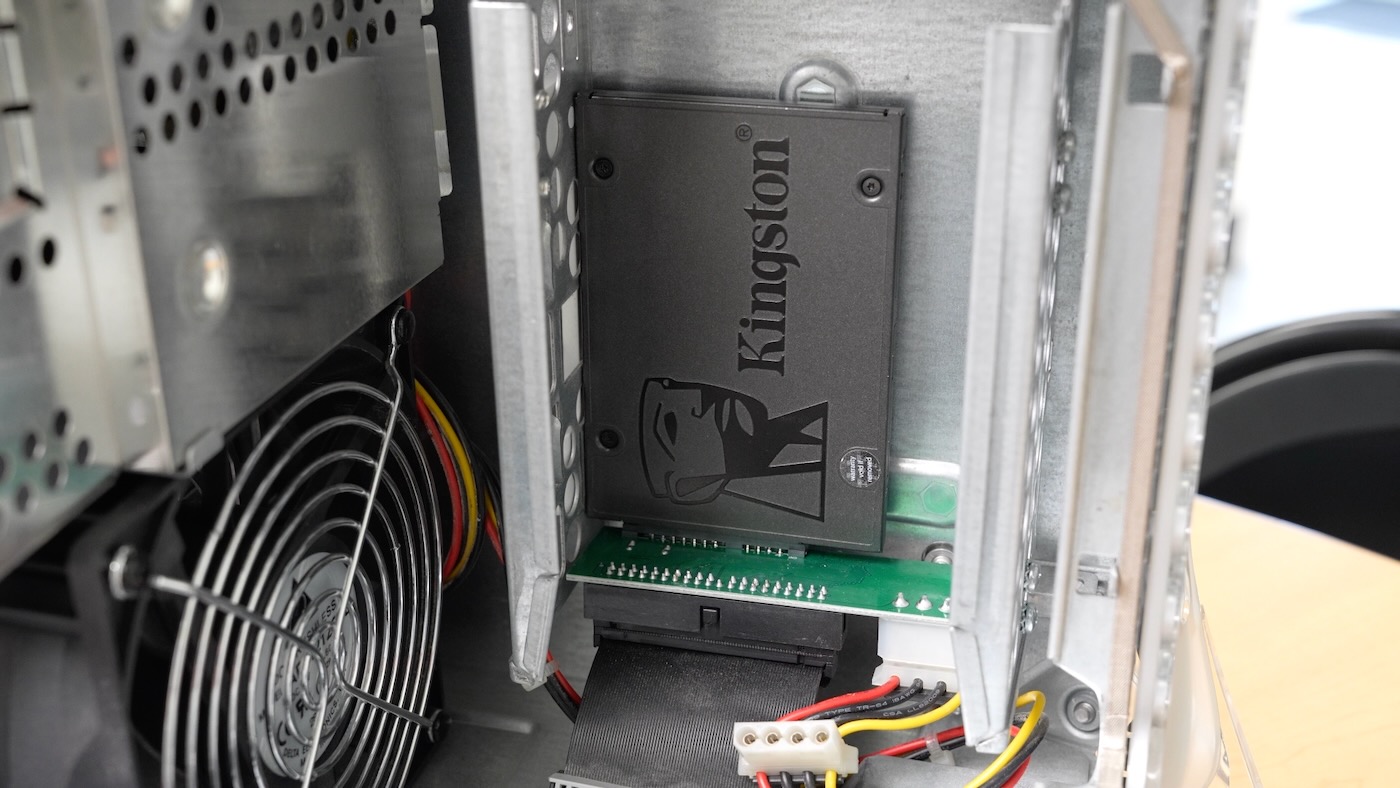
So I went digging, and found that it could be related to 'Cable Select'. The cablecc adapter I used only had 'Master' and 'Slave' options, so I thought I'd switch to the $19 StarTech.com IDE to SATA Adapter with Cable Select.
This seemed to do the trick, as the instability was completely gone. In addition, with my fresh 10.4 install, the whole system would boot in about 12 seconds—faster than most modern Apple devices can boot!
Fixing the Speaker
Since I didn't have any extra external speakers, and didn't want to use headphones with this Mac (even though it's one of the few with a headphone jack on the front!), I decided to buy a $29 Apple Speaker Assembly 922-5275 from eBay, and swap out the speaker.
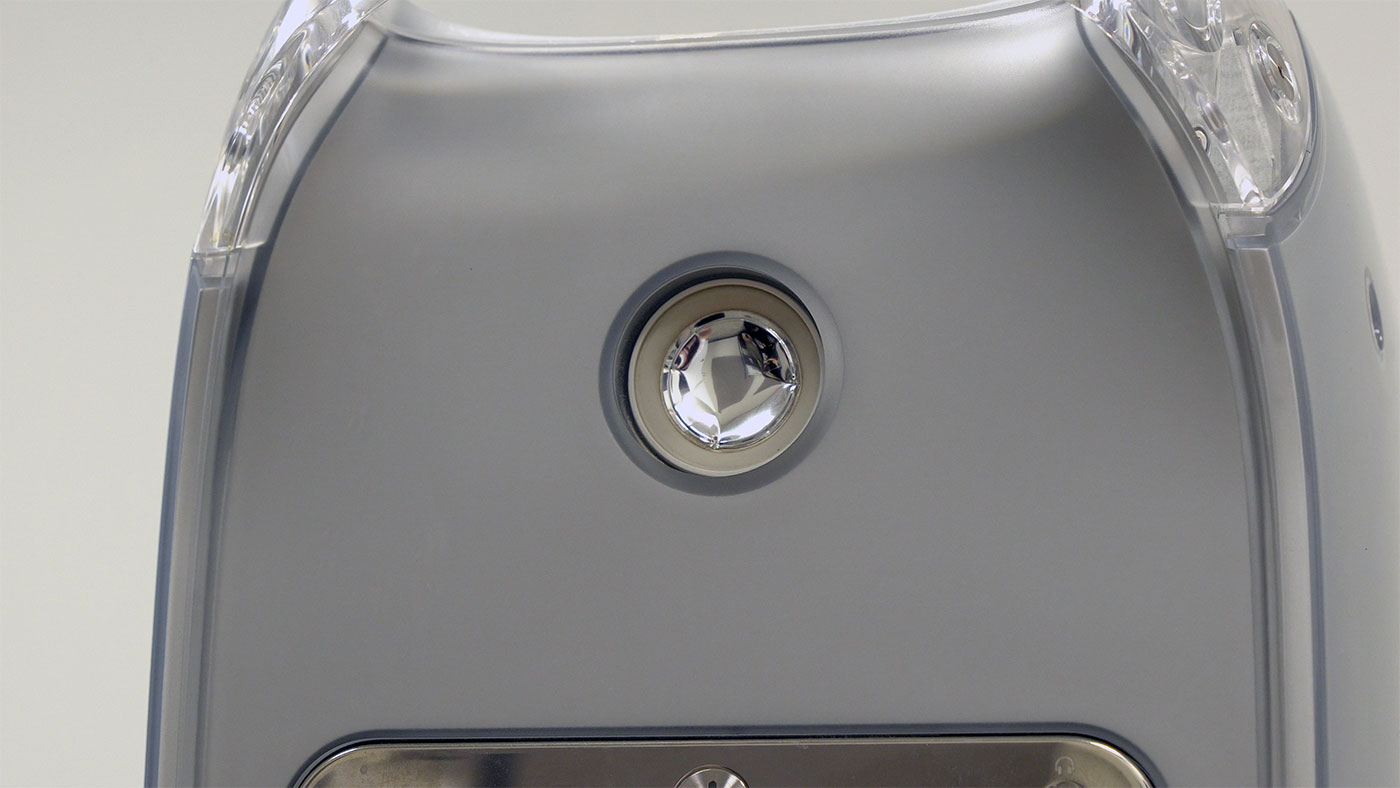
The install is a little annoying, only because the cable is routed behind the optical drive bay, under some ATA cables, and into a crowded area on the motherboard. But it was an uneventful swap, and now the speaker sounds nice and full.
Too full, in fact—when I boot the system, for some reason it loves going back to MAX VOLUME, regardless of the volume settings I had set previously.
I even tried an nvram hack, setting the following via the Terminal:
sudo nvram StartupMute=%10
This should set the startup sound to 10% of the normal volume... but that didn't work. You can hold the mute button to mute the startup sound, but that requires a bit of active participation. Ah well.
Faster transfers - USB 2.0 and Netatalk
Now that the system is stable, I want to make it easy to transfer files and do 'networking' things—though with the ability to keep the system air-gapped, since it's new enough to cause problems if some malicious party got inside.
To that end, I first installed a $20 Belkin 4+1 USB 2.0 PCI Card. This card has the NEC USB 2.0 chipset, which is the most compatible with this era of Mac—other chipsets may not support things like sleep/wake cycles.
I tested it out with one of my ancient USB 2.0 flash drives, and it worked great, giving me 10-15 MB/sec file copies. That's a lot faster than the USB 1.1 speeds I was getting with built-in ports.
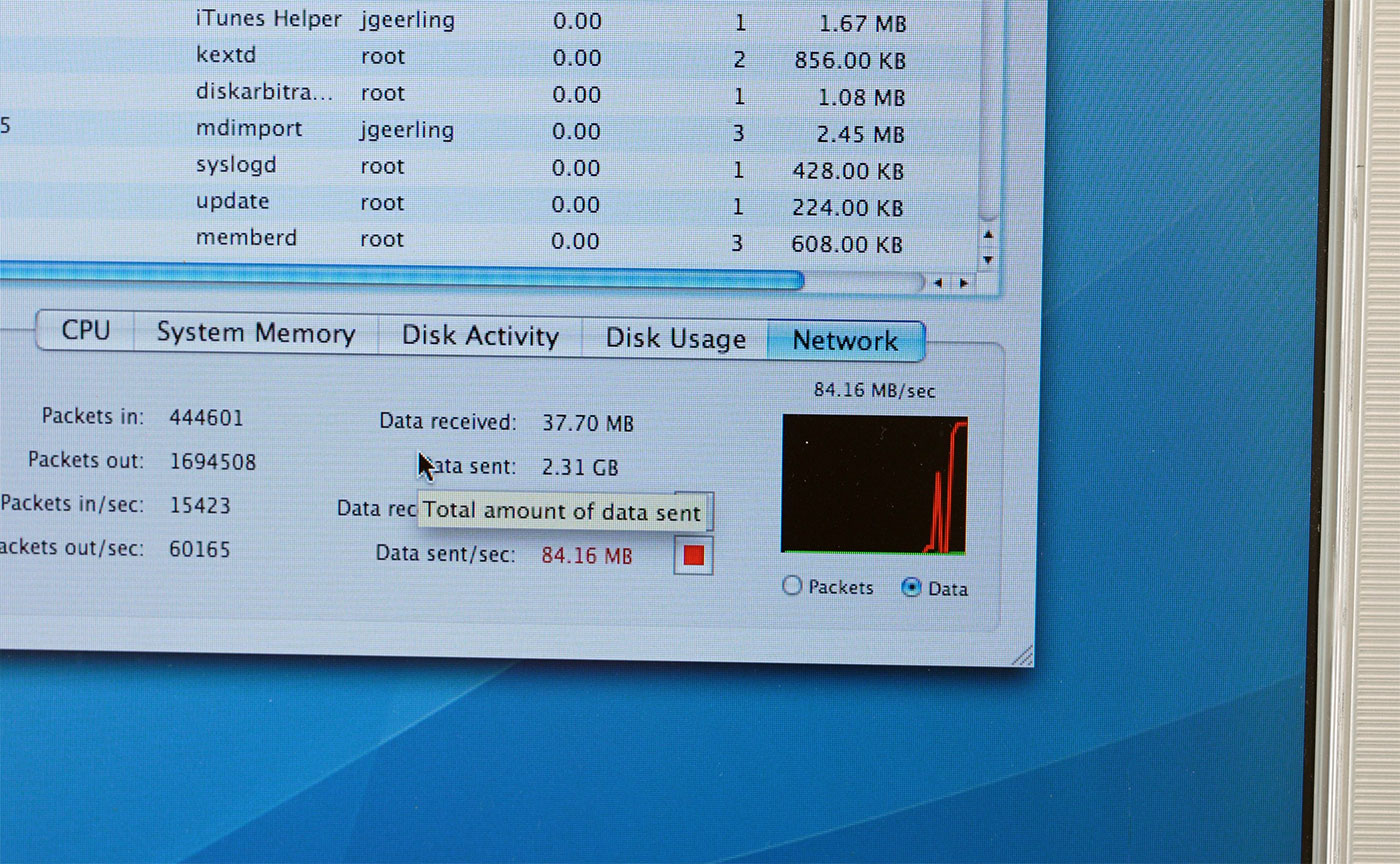
Netatalk is an easy way to set up AppleShare / AppleTalk shares on any Linux system. I have it running on a little Raspberry Pi I nicknamed 'Apple Pi', and I open sourced my full Ansible playbook to set it up. That playbook also configures Samba so my newer Macs, and even PCs or other Linux machines, can access the files.
Using the Netatalk v3 share, I can get file transfer speeds over 80 MB/sec, which is a huge improvement over even FireWire 400 speeds to and from the Acomdata drive!
Having Mac OS 10.4 means the networking stack is new enough it 'just works' with most modern networking protocols. I don't have to hand-hold TCP/IP settings or AppleTalk configurations like I do on my PowerBook 3400c running Mac OS 8.6.
Canon GL1 and Final Cut Express
Since this system arrived around the peak of the pre-HD digital video era, where MiniDV and DVCAM ruled the digital-video-on-tape world, I thought it would be neat to replicate some of the setup I would borrow for my earliest YouTube videos, like Exploring Myth: Theseus and the Minotaur.
I would borrow either a Canon GL1 or XL1 to record, and edited videos in Final Cut Express. My Dad held onto our early copy of that software—upgraded from version 1, to 2, to 3, and even HD! So he let me grab the box and install it on the G4.
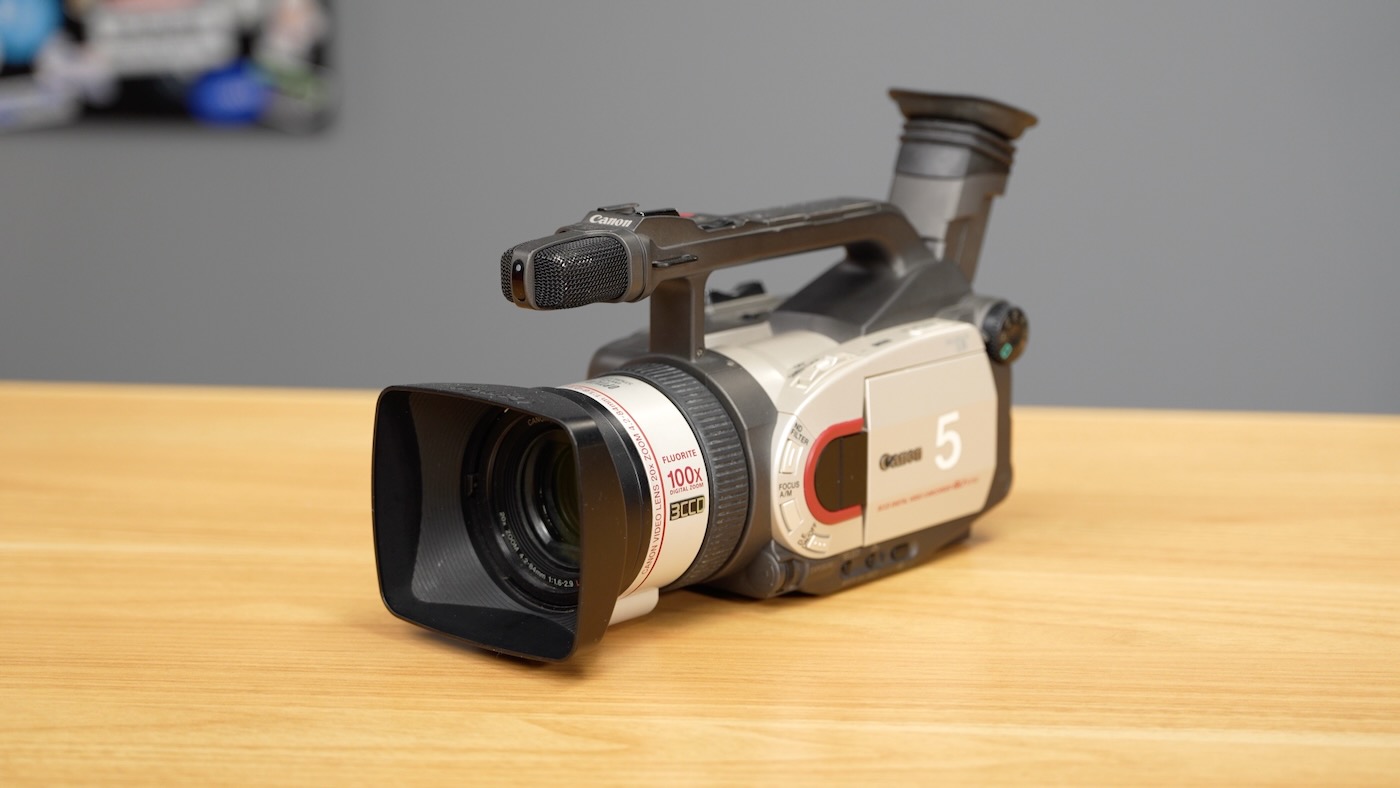
I paired that up with a used Canon GL1 I bought on eBay for $110. Adding on a Batmax Canon BP-911-compatible Battery, and a new Sony MiniDV tape, I was able to capture a little footage and import it into FCX...
...which was more painful than I remember. I still think pulling an SD card from my modern Sony and plugging it in is annoying—imagine having to plug in your whole camera, fire up Final Cut Express, open the Import tools, turn on the camera to playback mode, then play the tape and start recording! At least it had clip detection—earlier import processes didn't even have that, and you had to cut up clips after you imported them!
I think I'll have a little more fun when I have time to mess around with the GL1 some more. I'd love to put it in my main studio with the nice lighting, and see how good I can get 480p footage out of that thing.
Keyboard and Mouse
I have Colin from This Does Not Compute and Freegeek Twin Cities to thank for an original Apple Pro Keyboard and Mouse, which are more period-appropriate.
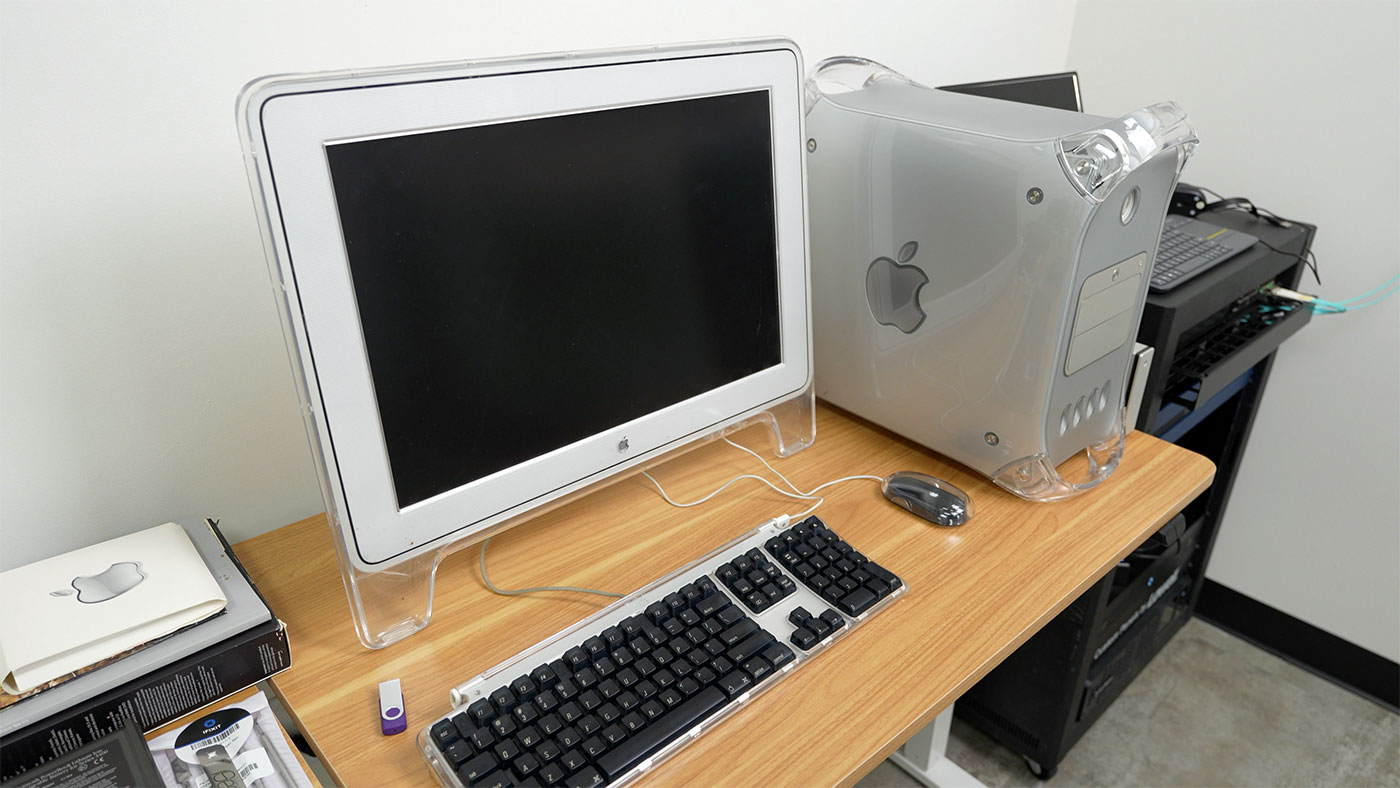
...and a lot less coffee-stained!
Using the Apple 'Pro' Mouse, though, I remembered how much more enjoyable it was using the Microsoft Intellimouse Explorer back then—after the ADB era, Apple's mice were (and still are) pretty terrible. I use one of Apple's giant Trackpads now (multitouch is invaluable in my work), but I'm considering an Intellimouse or a good knockoff for daily driving this machine.
Apple Pro Speakers
I ordered a set of Apple Pro Speakers on eBay that were in 'okay' condition (working, but visibly worn... like all Pro Speakers from that era).
Then, after receiving them, I discovered there were two versions of the Pro Speakers sold:
- The iMac G4 variant, which has a very short cable, meant to plug into the iMac base in the middle of the two speakers on the desktop.
- The Power Mac G4 variant, with a slightly longer cable, which was able to reach the desktop a foot or two away from an Apple Cinema Display.
I got the former variant, so I'm currently considering extending the cable length.
Apple being apple, the connector on the end is proprietary, so you can't just pop in a 3.5mm speaker cable extension, you either have to splice the cable midway, or tear down the speakers and re-solder the wires in there with extensions out the back.
Very annoying. However, the speakers sound a LOT better than the built-in speaker on the MDD (even after replacing it), so I'm overall happy with the purchase.
Future tasks (TODOs)
There are a few other things I'd like to do to make this system more likely to last another 20 years—and not drive me mad every time I boot it up.
Taming Idle Power Draw with CPU Nap
From some forums, I found out there's a 'CPU Nap' feature that can be enabled using CHUD Tools.
Measuring idle power draw, my Dual 1.0 GHz G4 uses about 200W, which is absurd! It is powering the beefy 22" LCD as well, but still...
I would love to see if I can get CPU Nap working—I believe it allows one of the two dual PowerPC CPUs to power down when it's not being used. Honestly, there are only a few instances where having both CPUs in this system are helpful, in day-to-day usage.
Investigate side panel and optical drive fans
I haven't checked on the side panel fan—it seems to pull air in from behind the motherboard, into the optical drive bays. It may also be noisy, and could use a fan swap.
There's also a tiny little fan on the back of the SuperDrive. I'd like to see if that may be causing any extra noise too. The SuperDrive itself can get pretty loud, when the MDD facade rattles against the drive as it's spinning at its fastest rates. Apple added some foam padding to prevent that from happening, but after 20 years, that foam is a bit worn.
PSU swap - Flex ATX
A small Flex ATX PSU would fit in this system, but require a few additional changes, owing to Apple's weird server PSU setup:
- The ADC connector would not get 25V power with a Flex ATX PSU, so I would need an external $50+ DVI to ADC adapter, which is just insane. However... a friend in St. Louis just gave me one, and it looks to be in excellent condition. But Apple, c'mon! Stop it with the proprietary connections!
- I would need a G4 MDD ATX Power Supply Adapter cable, a $50 part on eBay. Or I could make one, but that's just... not fun.
But it doesn't seem too daunting. Until the built-in PSU fails, though, I'll leave it for now. I could also re-cap it if it fails, or trade it in for a discount on the ATX adapter cable.
If you have one of these old PSUs, don't throw it out! Someone would likely want to refurbish it. They're going for over $100 on eBay already, and they're not getting less rare.
Comments
I watched the video and can not wait for the apple II video, I understand the apple II has a 6502 which is a very iconic processor (8-bit data bus/16-bit address bus.
Yes! There are a ton of great videos on the 6502 as well... just saw a new one by 8BitGuy a couple weeks ago. My first computer growing up was a Mac 128K, but in school we had Apple IIgs's and a couple LCIIs. I'd love to see how the original Apple II was in practice. There's also a bunch of cassettes for it!
I bought one of those $50 adapter cables from eBay. If you send the original power supply back to the seller, $35 is credited. If the power supply is sent within the first 7 days, $40 is credited.
The power supply on my MDD was faulty, so this cable allowed me to use a SFX power supply to get it working.
That's awesome! It's always nice when someone doesn't try to maximize personal gain, but rather earn enough to make it worthwhile, and also repair old tech and get it out into the wild again.