pcie

Quick NVMe performance testing with fio

I've recently been debugging some NVMe / PCIe bus errors on a Raspberry Pi, and I wanted a quick way to test NVMe devices without needing to create a filesystem and use a tool like iozone. I don't care about benchmarks, I just want to quickly push the drive and read and write some data to it.

fio is the tool for the job, and after a quick install sudo apt install -y fio, I create a configuration file named nvme-read.fio:

[global]
name=nvme-seq-read
time_based
ramp_time=5
runtime=30
readwrite=read
bs=256k
ioengine=libaio
direct=1
numjobs=1
iodepth=32
group_reporting=1
[nvme0]
filename=/dev/nvme0n1

Then run it with:

sudo fio nvme-read.fio

Easy way to put some stress on the drive, and test your PCIe setup and the drive itself.

A PCIe Coral TPU FINALLY works on Raspberry Pi 5

Coral.ai TPUs are AI accelerators used for tasks like machine vision and audio processing. Raspberry Pis are often integrated into small robotics and IoT products—or used to analyze live video feeds with Frigate.

Until today, nobody I know of has been able to get a PCI Express Coral TPU working on the Raspberry Pi. The Compute Module 4, unfortunately, had some quirks in its PCIe implementation, preventing the use of the Coral over PCIe.

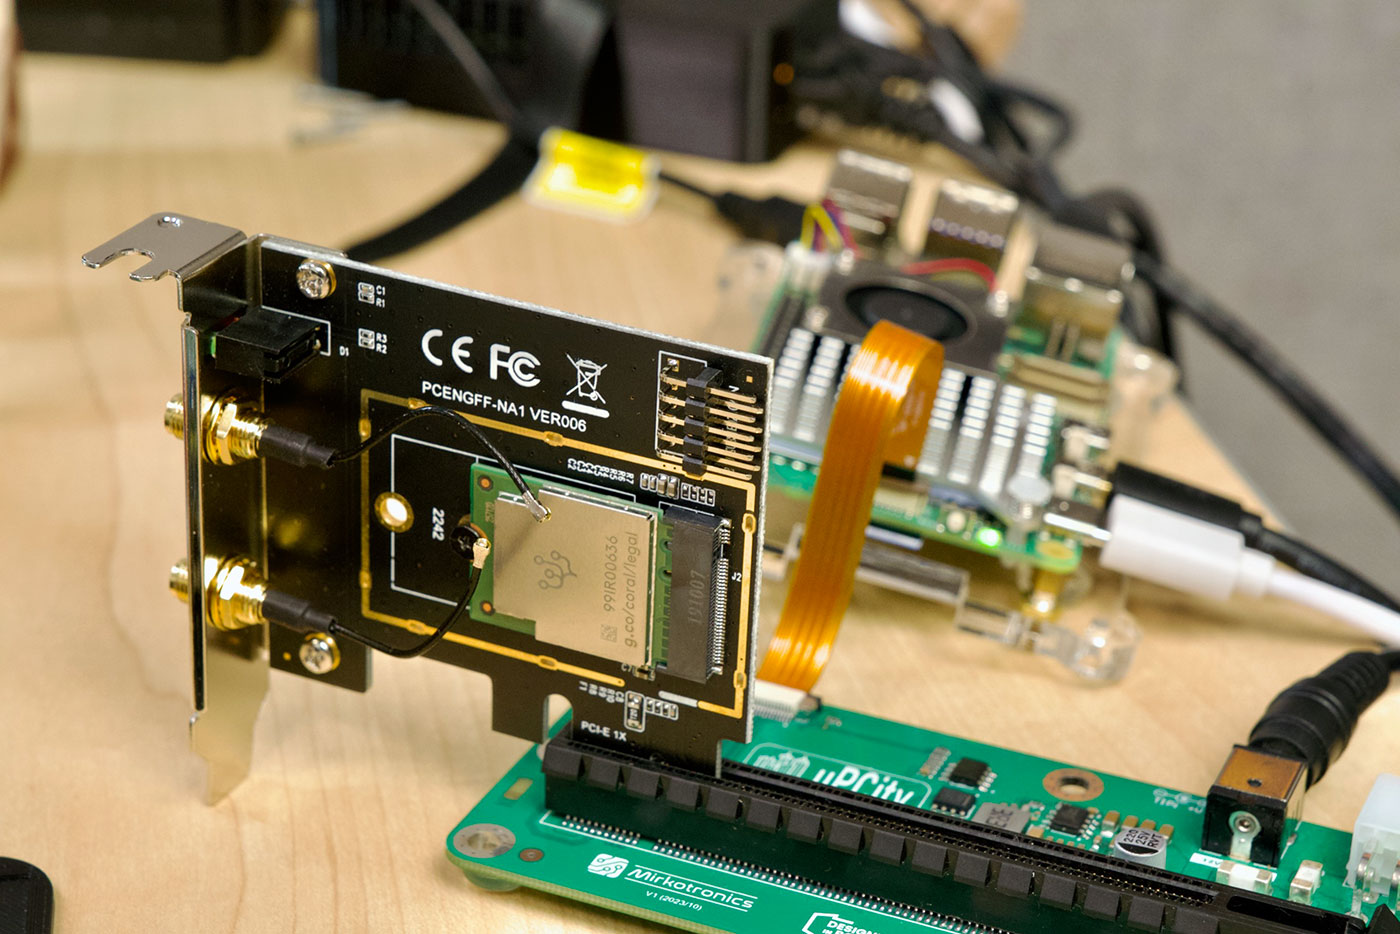
Google Coral TPU running over PCIe on Raspberry Pi 5

The Raspberry Pi 5 has a much improved PCIe bus—capable of reaching Gen 3 speeds even!—and I've already tested the first PCIe NVMe HATs for Pi 5.

So can the Pi 5 handle the Coral TPU natively over PCIe?

Yes. Though currently, you need to tweak a few things to get it working.

How to customize the dtb (device tree binary) on the Raspberry Pi

Every so often, when you're debugging weird hardware issues on SBCs like the Raspberry Pi, it's useful to get way down into the guts of how the Pi represents its hardware to Linux.

And the Linux kernel uses a method called Device Tree overlays to do it. On the Pi 5 (and other Pis), these overlays are stored as .dtb files inside the /boot/firmware directory, and there's an overlay for every major Raspberry Pi hardware model.

I've had to modify the dtb files in the past to increase the PCIe BAR space for early GPU testing on the Compute Module 4. And recently I've had to mess with how the PCIe address space is set up for testing certain devices on the Raspberry Pi 5.

Forcing PCI Express Gen 3.0 speeds on the Pi 5

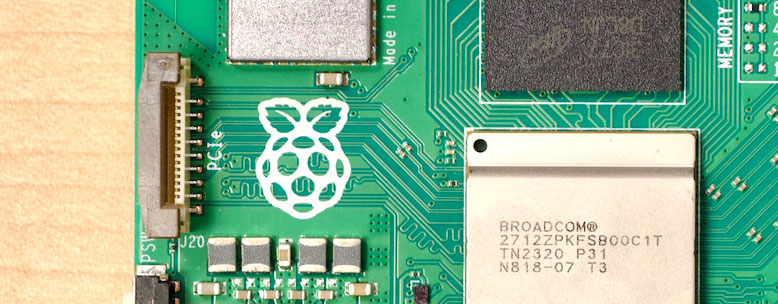
The Raspberry Pi 5 includes 5 active PCI Express lanes—4 go to the new RP1 chip for I/O like USB, Ethernet, MIPI Camera and Display, and GPIO, and 1 goes to a new external PCIe connector:

Raspberry Pi 5 PCIe connector

By default, all PCIe lanes operate at Gen 2.0 speeds, or about 5 GT/sec per lane. Currently there's no way to change that default for the RP1 chip's 'internal' lanes, but on the external connector, you can add the following lines inside /boot/firmware/config.txt (and reboot) to upgrade the connection to Gen 3.0 (8 GT/sec, almost double the speed):

Answering some questions about the Raspberry Pi 5

It's less than 12 hours since the Pi 5 launch, and already there's a few hundred questions whizzing about—I thought I'd answer some of the things I see people asking most frequently, like:

Does the new Case have room for the Active Cooler, or other Pi HATs?

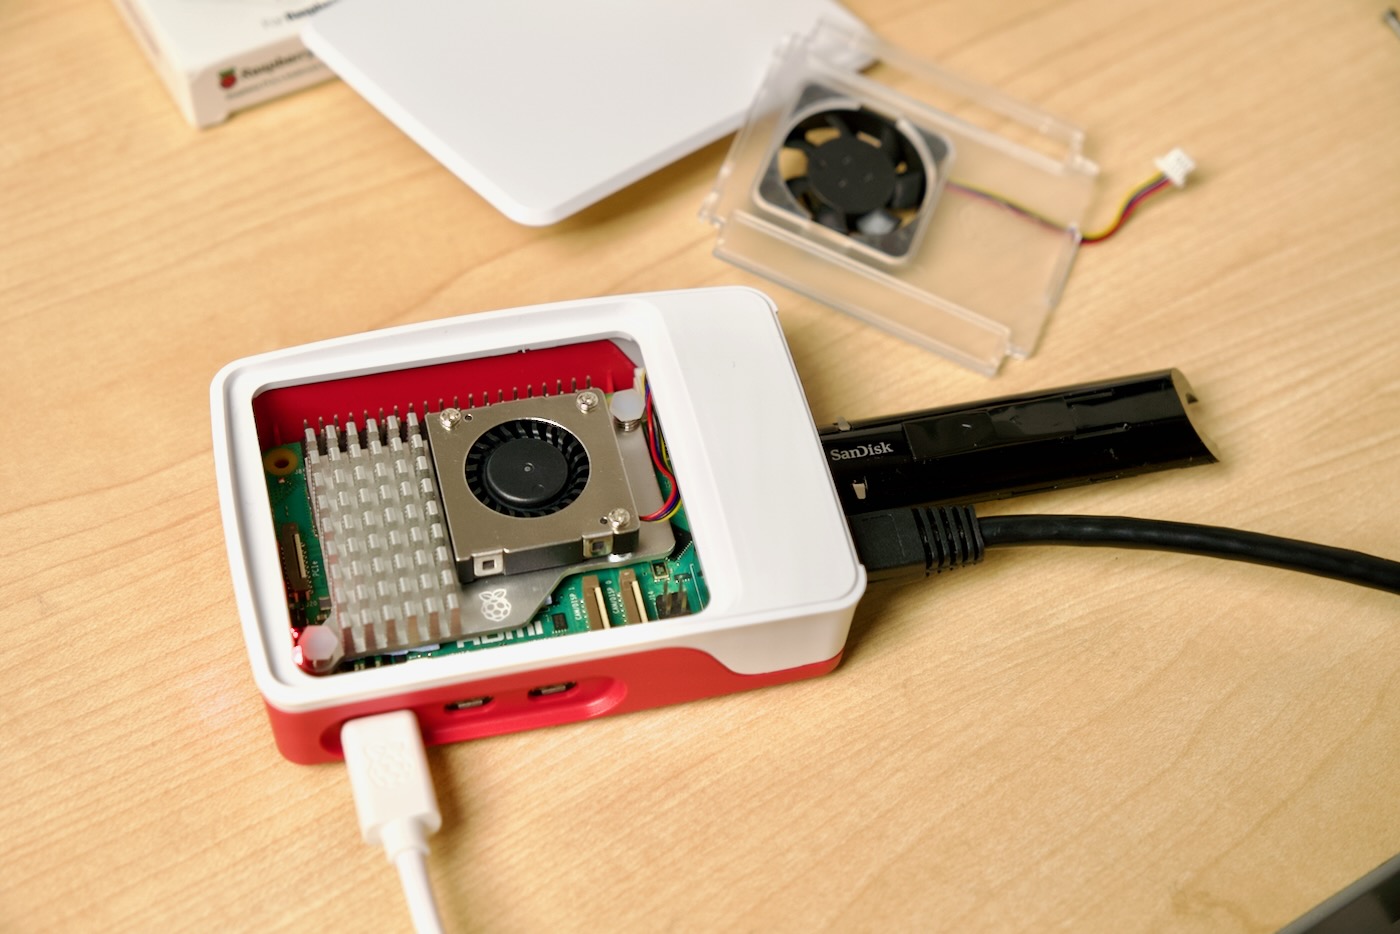
Raspberry Pi 5 case with active cooler

Yes, indeed it does! You can pop out the fan bracket in the new Case, and fit many normal-size Pi HATs. This is useful also if you want to stack cases—assuming the HAT has mounting points, you could put some spacers in and stack another Pi or Pi + Case on top!

Testing the Coral TPU Accelerator (M.2 or PCIe) in Docker

Google Coral TPU in PCIe carrier

I recently tried setting up an M.2 Coral TPU on a machine running Debian 12 'Bookworm', which ships with Python 3.11, making the installation of the pyCoral library very difficult (maybe impossible for now?).

Some of the devs responded 'just install an older Ubuntu or Debian release' in the GitHub issues, as that would give me a compatible Python version (3.9 or earlier)... but in this case I didn't want to do that.

Time Card mini adds Pi, GPS, and OCXO to your PC

For LTX 2023, I built this:

CM4 Timecard mini GPS locked

This build centers around the Time Card mini. Typically you'd install this PCI Express card inside another computer, but in my case, I just wanted to power the board in a semi-portable way, and so I plugged it into a CM4 IO Board.

The Time Card mini is a PCIe-based carrier board for the Raspberry Pi Compute Module 4, and by itself, it allows you to install a CM4 into a PC, and access the CM4's serial console via PCIe.

But the real power comes in 'sandwich' boards: