linux

LattePanda Mu crams x86 PC into SoM form factor

LattePanda Mu with Raspberry Pi 5 in background

LattePanda's been building Intel-based SBCs for almost a decade, but until now, they've never attempted to unite an Intel x86 chip with the popular SoM-style form factor Raspberry Pi's dominated with their Compute Module boards.

This year they've introduced the LattePanda Mu, a SoM that marries an Intel N100 SoC with a new edge connector standard they've designed, using a DDR4 SODIMM form factor.

Right now they offer two carrier boards: a lite version with basic interfaces and a couple 2230-size M.2 slots for SSDs and wireless, and a full evaluation carrier that breaks out every hardware interface in a Mini ITX-sized motherboard.
Raspberry Pi is getting into the services game

...and it's all free—so far.

Raspberry Pi Connect Beta Logo

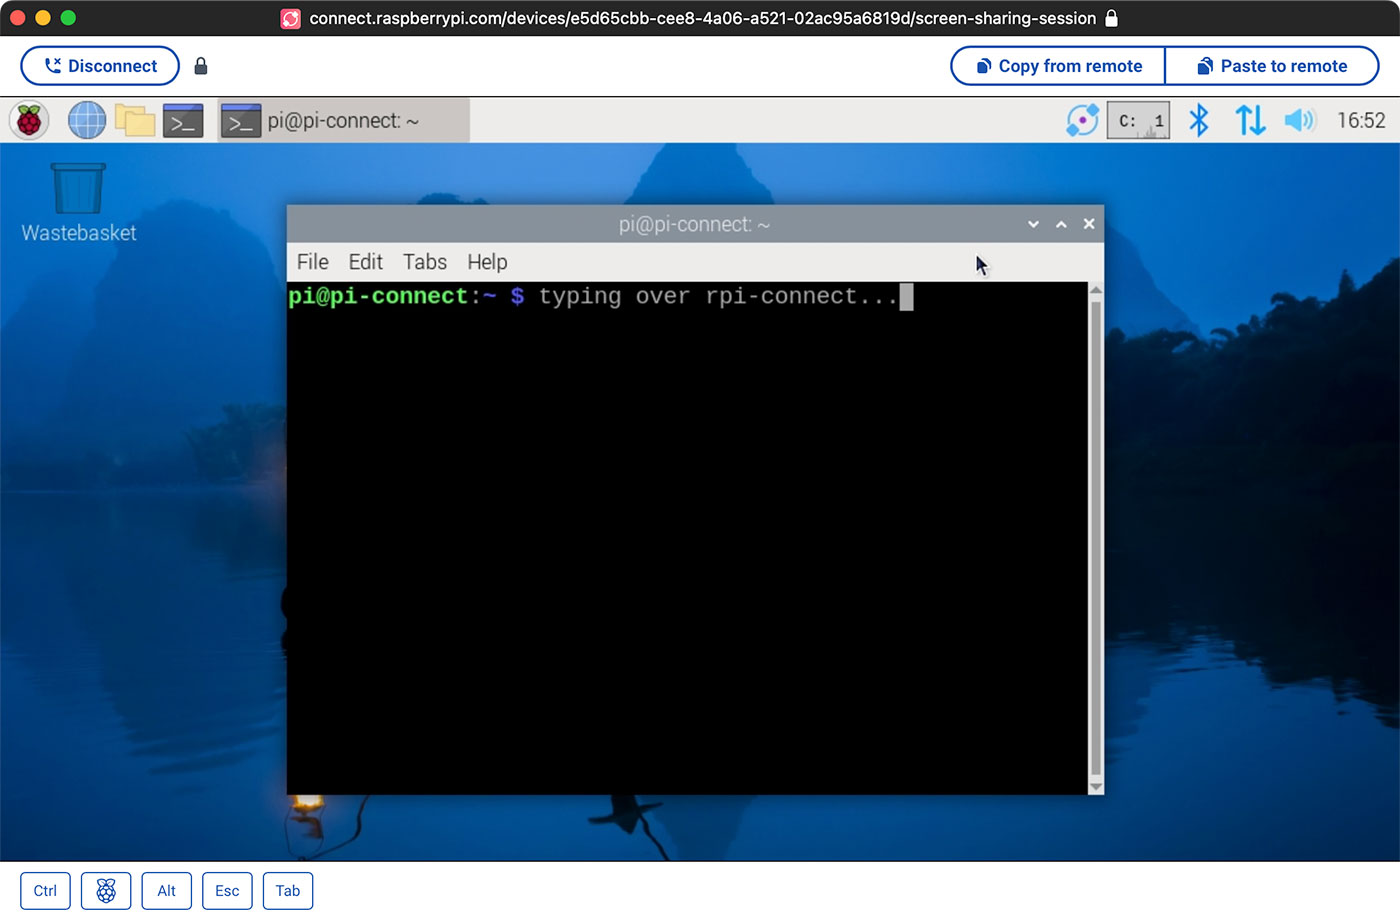
Raspberry Pi today launched Raspberry Pi Connect, a free remote VPN service for all Pi OS users.

If you create a Raspberry Pi ID, you can sign up for Connect, install rpi-connect on a Pi 4 or 5 running 64-bit Pi OS 12 'Bookworm', and register that Pi with the service.

Then, on any other device's web browser, you can log in and remote control your Pi through Connect's web-based VNC viewer.

Raspberry Pi Connect Demo

The VNC server is based on wayvnc, and the Connect service allows for as many registered Pis as you want (though I'm guessing the interface is optimized for the majority use case of one or a few).

Set a static IP address with nmtui on Raspberry Pi OS 12 'Bookworm'

Old advice for setting a Raspberry Pi IP address to a static IP on the Pi itself said to edit the /etc/dhcpcd.conf file, and add it there.

But on Raspberry Pi OS 12 and later, dhcpcd is no longer used, everything goes through Network Manager, which is configured via nmcli or nmtui. If you're booting into the Pi OS desktop environment, editing the IP settings there is pretty easy.

But setting a static IP via the command line is a little different.

First, get the interface information—you can get a list of all interfaces with nmcli device status:

$ nmcli device status
DEVICE         TYPE      STATE                   CONNECTION         
eth0           ethernet  connected               Wired connection 1 
lo             loopback  connected (externally)  lo                 
wlan0          wifi      disconnected            --                 

In my case, I want to set an IP on eth0, the built-in Ethernet.

Learning about ZFS and efficiency on my new Arm64 NAS

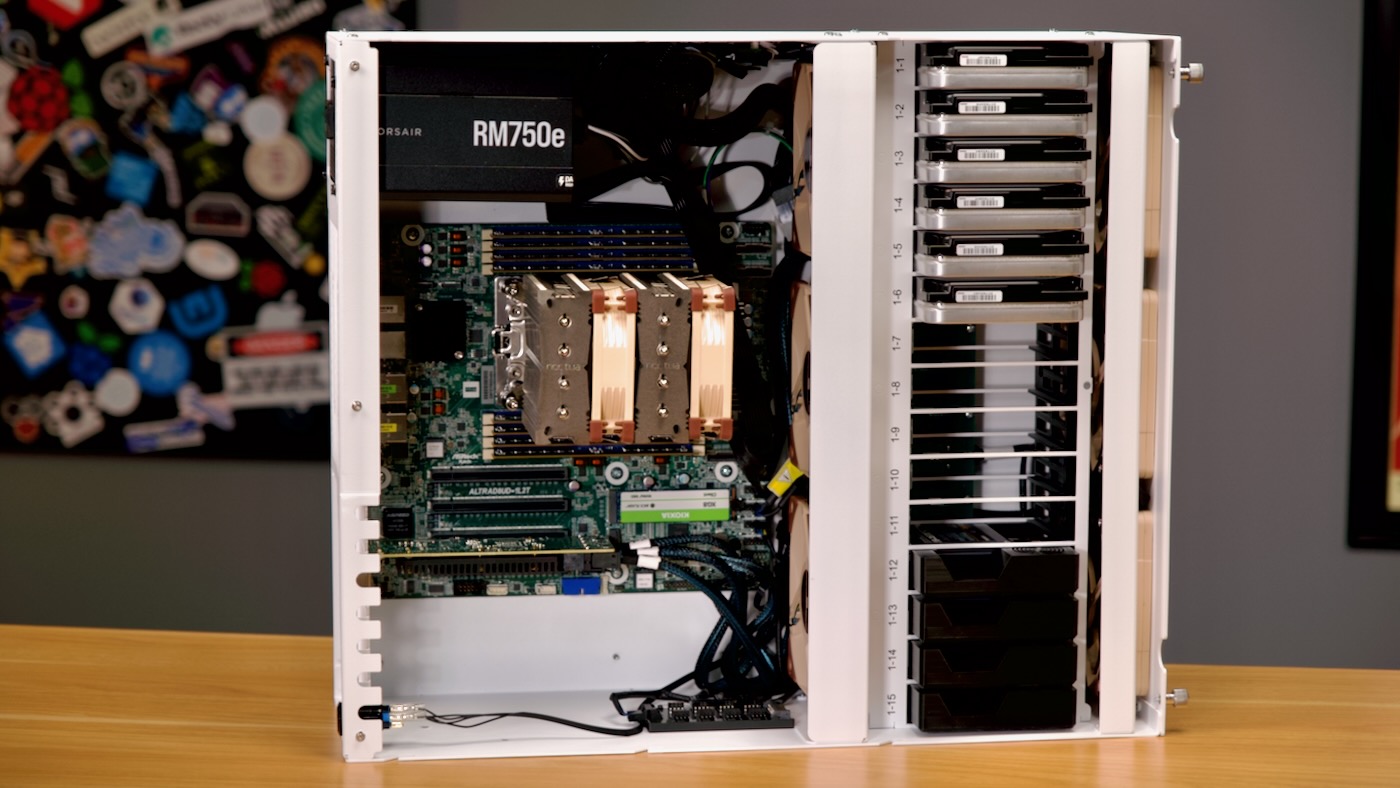
HL15 with Ampere Altra and ASRock Rack motherboard - NAS fully built

I've been building out a new Arm-based NAS using ASRock Rack's new 'Deep Micro ATX' motherboard for Ampere Altra and Altra Max CPUs.

I posted about the hardware earlier, in Building an efficient server-grade Arm NAS. Go check that out if you want details on the specific hardware in this setup.

But at the end of the build, I installed Rocky Linux, and found the power consumption to be a bit higher than expected—over 150W at idle!

As it turns out, the NAS must've been doing something when I took that initial measurement, because after monitoring it for a few more days, the normal idle power usage was around 123W instead.

Mounting an ext4 linux USB drive on macOS in 2024

I recently pulled a SATA hard drive out of a Linux box that I wanted to grab some files off of. I only had my Mac on hand, and I had a USB 3.0 to SATA hard drive adapter at the ready.

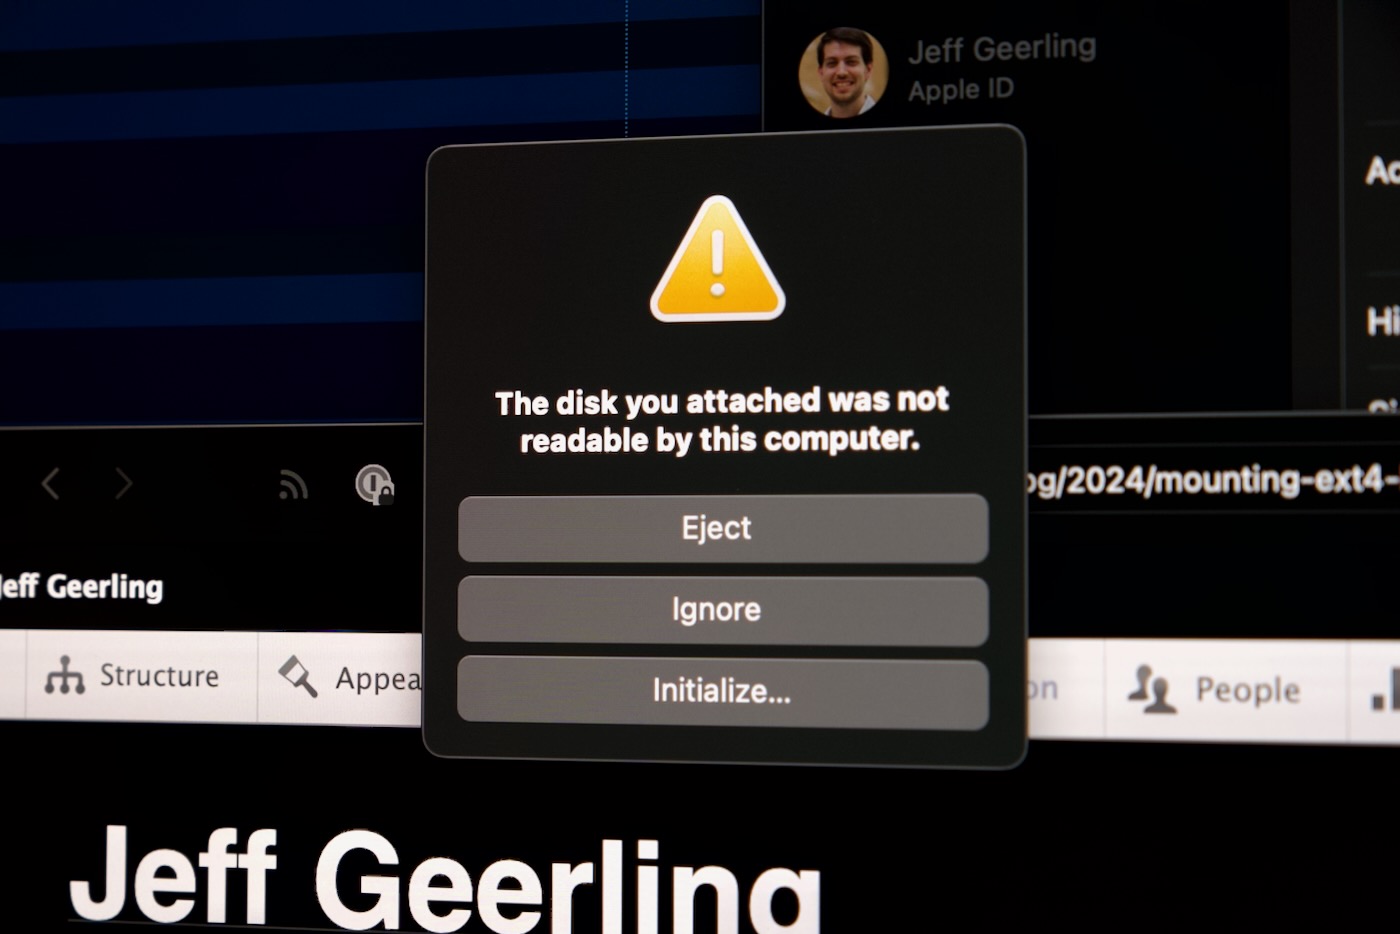
But when I plugged in the hard drive, macOS said it couldn't recognize the disk.

Disk unreadable by macOS

Makes sense, because macOS includes support for Apple's filesystems, not Linux (or even NTFS, Windows' preferred filesystem). There are commercial solutions you can buy, like Paragon Software's extFS for Mac, but that costs $39, and I don't want to deal with the licensing issues that may exist there if I just want to grab a few files off one hard drive.

Luckily, there are some open source libraries that allow at least read only access to ext4-formatted disks on macOS. Let's install them and use them to mount the drive:

First, install macfuse, using homebrew:

MNT Reform - a hackable laptop, not for everyone

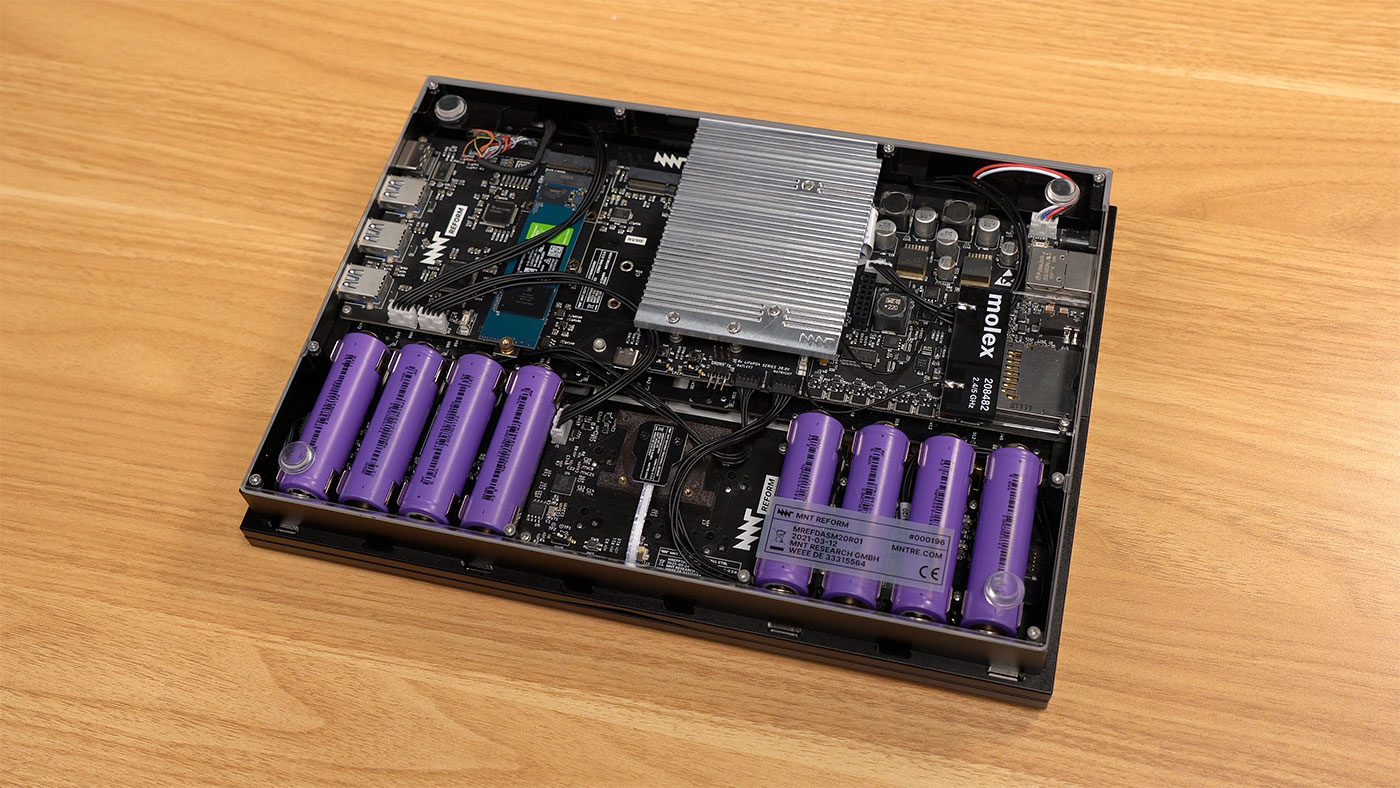
MNT Reform bottom with purple battery cells

The MNT Reform's design, the components, everything—is open source. If iFixIt did a teardown, they'd probably give it an 11 out of 10.

You can replace individual battery cells! Some people with these laptops hacked in their own speakers, added more internal Ethernet, or even swapped out the CPU itself.

Does that mean I think you should buy it? No, probably not. It's expensive (starting at €1199), and it's built for a certain type of person. It's not gonna replace a MacBook or a cheap Chromebook.

But why does this exist, and why am I excited about it?

Disclaimer: The reform used in this review was sent to me for testing; it's already been shipped back to MNT Research. They haven't paid me anything, and they have no input into the content of this blog post.

HTGWA: How to completely erase a hard drive in Linux

This is a simple guide, part of a series I'll call 'How-To Guide Without Ads'. In it, I'll show you how I completely initialize a hard drive so I can re-use it somewhere else (like Ceph) that doesn't like drives with partition information!

First, a warning: this blog post does not show how to zero a hard drive, or secure erase. That's a slightly different process.

But as someone with way too many storage devices (from testing, mostly), I find myself in the position of trying to use a spare drive in some place where it expects a brand new drive, but winds up failing because the drive had a partition, or had valid boot files from an SBC or something.

I wanted to document the easiest way in Linux to completely reset a hard drive—at least from Linux's perspective.

The impetus was when I was trying to get some hard drives added to a Ceph OSD, and the process that tried adding them ran into an error stating RuntimeError: Device /dev/sda has partitions.

How to customize the dtb (device tree binary) on the Raspberry Pi

Every so often, when you're debugging weird hardware issues on SBCs like the Raspberry Pi, it's useful to get way down into the guts of how the Pi represents its hardware to Linux.

And the Linux kernel uses a method called Device Tree overlays to do it. On the Pi 5 (and other Pis), these overlays are stored as .dtb files inside the /boot/firmware directory, and there's an overlay for every major Raspberry Pi hardware model.

I've had to modify the dtb files in the past to increase the PCIe BAR space for early GPU testing on the Compute Module 4. And recently I've had to mess with how the PCIe address space is set up for testing certain devices on the Raspberry Pi 5.

Getting RISC-V (again): Milk-V's Mars CM

Milk-V Mars CM with Box

tl;dr: No, it's not a replacement for a Raspberry Pi Compute Module 4. But yes, it's an exciting tiny RISC-V board that could be just the ticket for more RISC-V projects, tapping into the diverse ecosystem of existing Compute Module 4 boards.

This tiny computer is the Mars CM. It's the exact same size and shape as the Raspberry Pi Compute Module 4. It should be a drop-in replacement. And on its box it says it supports 4K, Bluetooth and WiFi, and has gigabit Ethernet. It's also supposed to have PCI Express!