emmc

How to flash Raspberry Pi OS onto the Compute Module 4 eMMC with usbboot

The Raspberry Pi Compute Module 4 comes in two main flavors: one with built-in eMMC storage, and one without it. If you opt for a Compute Module 4 with built-in eMMC storage, and you want to write a new OS image to the Compute Module, or manually edit files on the boot volume, you can do that just the same as you would a microSD card—but you need to first make the eMMC storage mountable on another computer.

This blog post shows how to mount the eMMC storage on another computer (in my case a Mac, but the process is very similar on Linux), and then how to flash a new OS image to it.

Video Instructions

In addition to the tutorial below, I published a video version of this post covering installation and usage of rpiboot for flashing the eMMC on Windows, Ubuntu, Raspberry Pi OS, or macOS:
Flashing a Raspberry Pi Compute Module on macOS with usbboot

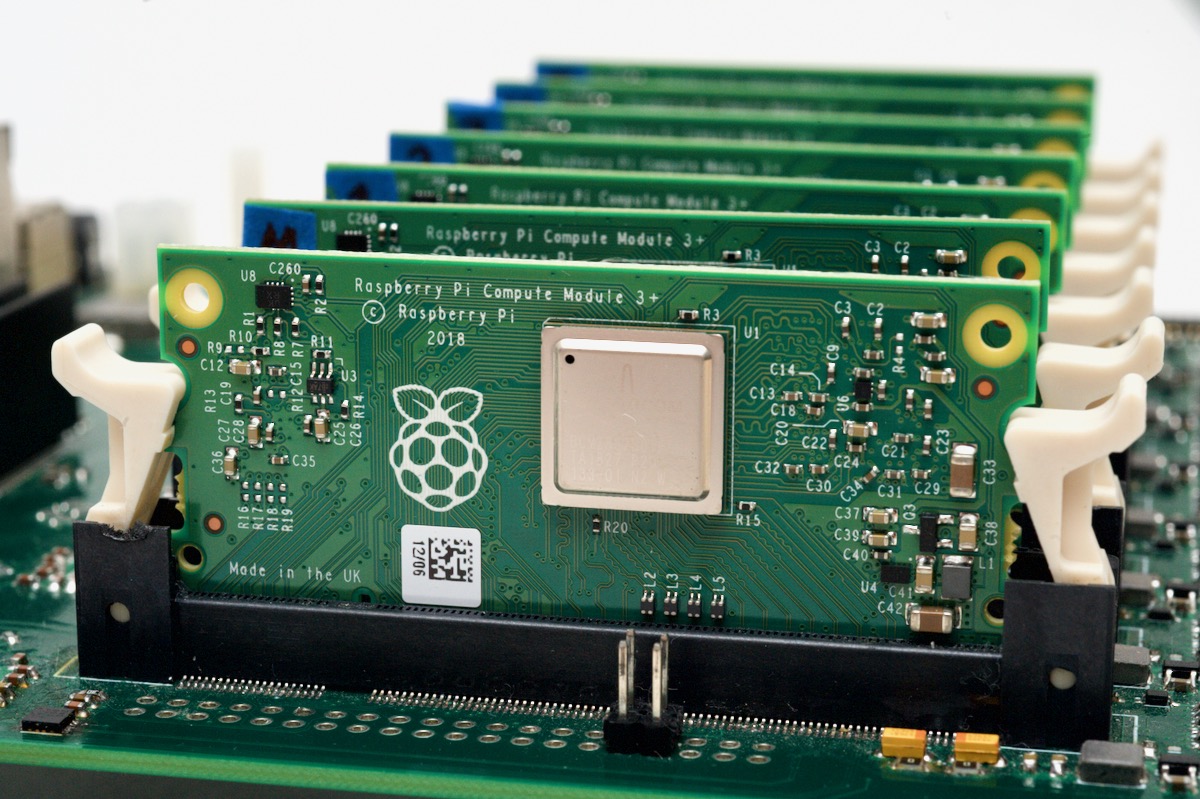
I recently got to play around with a Turing Pi, which uses Raspberry Pi Compute Modules to build a cluster of up to 7 Raspberry Pi nodes.

Turing Pi Raspberry Pi 7 nodes of Compute Modules

Interested in learning more about building a Turing Pi cluster? Subscribe to my YouTube channel—I'm going to be posting a series on the Turing Pi and Rasbperry Pi clustering in the next few weeks!

You can buy Compute Modules with or without onboard eMMC memory. If you don't have memory, you can attach a microSD card and boot from it, just like you would on any Raspberry Pi model B or model A. But if you have the eMMC memory, it's nice to be able to 'flash' that memory with an OS, so the compute module uses the onboard storage and doesn't require a separate boot device (either microSD card or USB disk).

Format eMMC storage on an Orange Pi, Radxa, etc.

To use eMMC modules on the Orange Pi, Radxa, Milk-V, etc. as a writable volume in Linux, you need to delete the existing partitions (on my old Orange Pi, it was formatted as FAT/WIN32), create a new partition, format the partition, then mount it:

  1. Delete the existing partitions, and create a new partition:
    1. sudo fdisk /dev/mmcblk1
    2. p to list all partitions, then d and a number, once for each of the existing partitions.
    3. n to create a new partition, then use all the defaults, then w to write the changes.
  2. Format the partition: sudo mkfs.ext4 -L "emmc" /dev/mmcblk1p1
  3. Create a mount point: sudo mkdir -p /mnt/emmc
  4. Mount the disk: sudo mount /dev/mmcblk1p1 /mnt/emmc

Note your eMMC device may be a different ID, e.g. mmcblk2 or mmcblk0, depending on the order the board firmware loads multiple devices in. Check with lsblk to see which device you would like to modify.