consumption

Raspberry Pi Zero - Conserve power and reduce draw to 80mA

Update 2015-12-01: I bought a PowerJive USB power meter and re-tested everything, and came up with ~80 mA instead of the ~30 mA reported by the Charger Doctor that I was using prior. This seems to be more in line with the results others were measuring with much more expensive/accurate meters in the Raspberry Pi forums: Raspberry Pi Zero power consumption. I've updated the numbers in the post below to reflect this change. Seems the Pi Zero is only incrementally better than the A+—still excellent news, but not nearly as amazing as I originally thought :(

Update 2021-10-28: With the new Pi Zero 2 W, you can also disable some of the CPU cores to reduce power consumption for a heavily-utilized Pi if it doesn't need all the CPU cores running.
Raspberry Pi Zero - Power Consumption Comparison

tl;dr: The Raspberry Pi Zero uses about the same amount of power as the A+, and at least 50% less power than any other Pi (B+, 2 B, 3 B).

On November 26, the Raspberry Pi foundation announced the Raspberry Pi Zero, a $5 USD computer that shares the same architecture as the original Raspberry Pi and A+/B+ models, with a slightly faster processor clock (1 Ghz), 512 MB of RAM, and sans many of the essential ports and connectors required for using the Pi as an out-of-the-box computer.

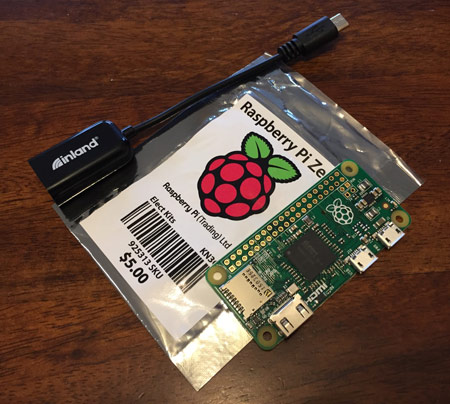
Raspberry Pi Zero - new with adapter cable
The Raspberry Pi Zero - quite a small Linux computer!

Controlling PWR and ACT LEDs on the Raspberry Pi

All Raspberry Pi models have a few built-in LEDs; the earlier models had PWR, ACT, and networking status LEDs all lined up on the board itself; for the B+ and model 2 B, the networking LEDs moved onto the network jack itself, leaving just two LEDs; PWR (a red LED) and ACT (a green LED).

Normally, whenever the Pi is powered on—except if the power supply dips below something like 4.5VDC—the red PWR LED remains lit no matter what. If you wanted to 'disable' the LED, you'd have to put a piece of tape or something else over the LED, or get out a soldering iron and modify the hardware a bit.

Raspberry Pi model 2 B, B+ and A+ (and beyond)

Luckily, with the Pi 2 model B, B+, A+, and Zero, you can control the LEDs in software, in a few different ways. The simplest way to change the way these LEDs work is to modify the trigger for each LED by setting it in /sys/class/leds/led[LED_ID]/trigger, where you replace [LED_ID] with 0 for the green ACT LED, and 1 for the red PWR LED.

For example: