tutorial

AirPort Extreme showing 'Device Not Found'? Here's a fix

If you've had an AirPort Extreme for a while, and recently (within the past year or two) had it go missing from your network (when you open AirPort Utility you get 'Device Not Found'), there's a good chance you ran into the same issue I did. Basically, everything was running great, then one day around August 2016, my Extreme disappeared from the network—even though it was routing Internet traffic for all the devices in my house just as good as ever!

The fix?

  1. Open AirPort utility (it will likely show "Device Not Found").
  2. Unplug your AirPort Extreme, and wait 10 seconds.
  3. Plug it back in, and connect to the WiFi network as soon as possible, then immediately go to the AirPort Utility.
  4. The AirPort should appear and be manageable (by clicking on it) for a brief period—quickly click on it, click Edit, then clear out any Apple IDs in the 'Back to My Mac' section.
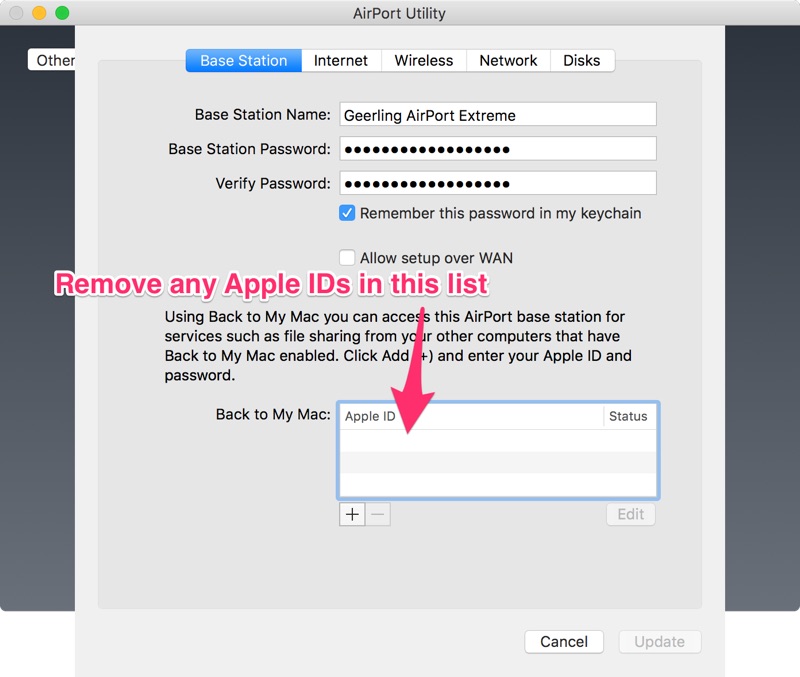
AirPort Extreme Back to My Mac Apple ID listing

How to make Safari accept Google search strings in the Location bar quickly

A few months ago, I switched to Safari after having used Google Chrome exclusively for the past four years (before that it was a mix of Safari and FireFox). Safari is lean and fast, but the one thing that really bothered me was the fact that I would often try searching for something by entering keywords in the location/address bar, then hit enter, and nothing would happen.

I quickly realized that if I did this and nothing happened, I could jump back into the location bar (⌘-L), press the left arrow key to get my cursor in the beginning of the string, then hit space and enter to perform the search.

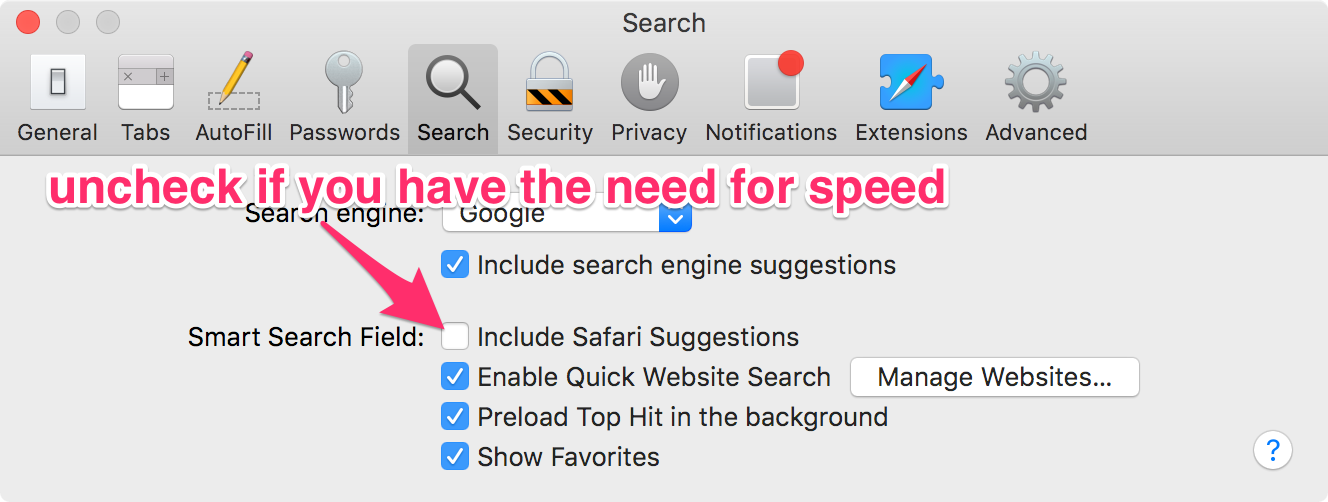
Until today, I've begrudgingly used that workaround. But then I was checking Safari's preferences to see if I might be missing something obvious, when I decided to uncheck some options and see if it made a difference. And it did!

Safari Search Preferences

Using Ubuntu Bash in Windows Creators' Update with Vagrant

When Microsoft announced the Windows Subsystem for Linux, now seemingly rebranded as Bash on ubuntu on Windows, I was excited at the possibility of having Drupal VM (and other similarly command-line-friendly open source projects) work better in a Windows environment. But unfortunately, the Anniversary update's version of WSL/Ubuntu Bash was half-baked, and there were a lot of little issues trying to get anything cohesive done between the Windows and Ubuntu Bash environments (even with cbwin).

Then, a year or so later, Microsoft finally announced that tons of improvements (including upgrading Ubuntu in the WSL from 14.04 to 16.04!) would be included in the 'Creators Update' to Windows 10, dropping tomorrow, April 11.

Setting up a Pi Hole for whole-home ad/tracker blocking

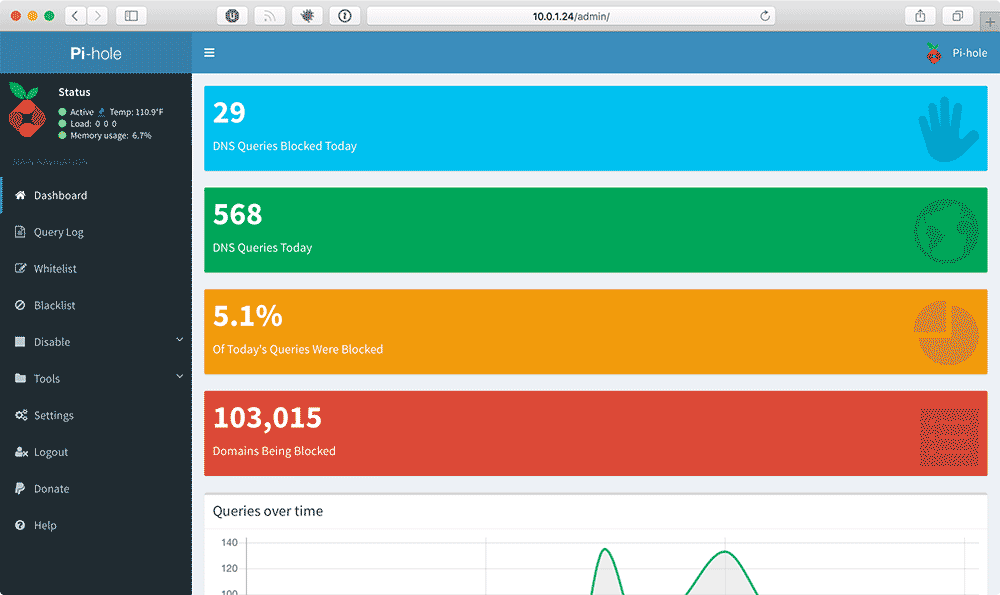
Pi Hole - Admin DNS query request dashboard page in Safari

Pi Hole is a nifty open source project that allows you to offload the task of blocking advertisements and annoying (and often malicious) trackers to a Raspberry Pi. The installation is deceptively simple (a curl | bash affair), but I wanted to document how I set up mine headless (just plugging the Pi into power and the network).

Set up Raspbian Lite

I bought a Raspberry Pi model 2 B along with the official Raspberry Pi foundation Case. Then I bought a Samsung Evo+ 32GB microSD card (which comes with a full-size SD card adapter), and did the following steps on my MacBook Pro to set up the Pi's OS:

Drupal VM on Windows - a fast container for BLT project development

AKA "Supercharged Windows-based Drupal development"

tl;dr: Use either PhpStorm or a Samba share in the VM mounted on the host instead of using a (slow) Vagrant synced folder, and use Drupal VM 4.4's new drupal_deploy features. See the video embedded below for all the details!

.embed-container { position: relative; padding-bottom: 56.25%; height: 0; overflow: hidden; max-width: 100%; } .embed-container iframe, .embed-container object, .embed-container embed { position: absolute; top: 0; left: 0; width: 100%; height: 100%; }

I've often mentioned that Windows users who want to build modern Drupal sites and apps are going to have a bit of a difficult time, and even wrote a long post about why this is the case (Developing with VirtualBox and Vagrant on Windows).

Soup to Nuts: Using Drupal VM to build local and prod

Update, January 2019: I would like to point out that using Drupal VM to build production servers is not officially supported, and though it may work pretty well, you are own your own if you do use it in that capacity. Please see Drop 'official-ish' support for using Drupal VM to run production servers for more details. What follows was mostly a tech demo for a MidCamp session, and has only been used by a small fraction of the Drupal VM userbase.

In preparing for my session Developing for Drupal 8 with Drupal VM at MidCamp later this month, I wanted to build out an example of a canonical "this is the way I'd do it" Drupal 8 site using nothing but Drupal VM and Composer. And I wanted to build both my local development environment and a production environment on DigitalOcean, all using the Ansible automation playbooks built into Drupal VM.

Use a Drupal 8 BLT project with Drupal VM on Windows 7 or Windows 8

Windows 10 is the only release Acquia's BLT officially supports. But there are still many people who use Windows 7 and 8, and most of these people don't have control over what version of Windows they use.

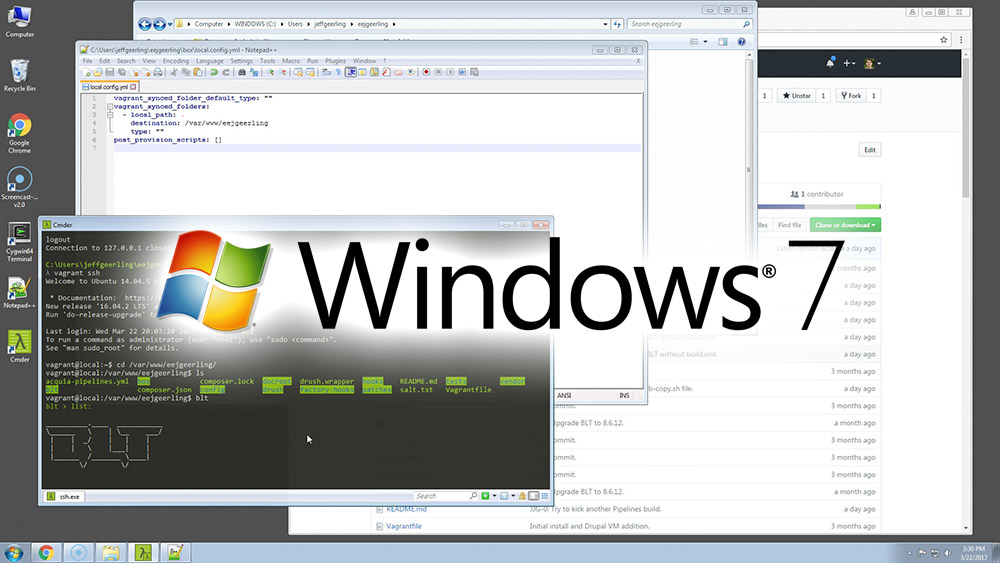
Windows 7 - Drupal VM and BLT Setup Guide

Drupal VM has supported Windows 7, 8, and 10 since I started building it a few years ago (at that time I was still running Windows 7), and using a little finesse, you can actually get an entire modern BLT-based Drupal 8 project running on Windows 7 or 8, as long as you do all the right things, as will be demonstrated in this blog post.

Raspberry Pi Zero W as a headless time-lapse camera

tl;dr: There are many ways to capture time-lapse videos. But this one is cheap, completely wireless, and mine. If you want to skip the post and go straight for the glory, grab a copy of my Time-lapse app for the Raspberry Pi.

Time-lapses transform subtle, slow processes into something beautiful, and often make us think about things in new ways. For example, have you ever thought about just how heavy a wet snow is? The trees in your yard might know a thing or two about that! Check out a time-lapse I recorded this morning some mighty oak tree branches, as they relaxed upward as if in relief from the wet snow falling off:

Refurbishing a classic microphone - the Electro-Voice RE20

In the world of radio and professional podcasting, there are fewer than a dozen 'go-to' microphones. Each of the classics (e.g. the Shure SM7B, the Neumann U87, or the EV RE20) has it's own advantages and a few marquee users, but one mic seems to rule the roost when it comes to versatility and ability to color almost any voice with the 'talk show' sound, and that's the EV RE20.

Electro-Voice RE20 classic black and white mounted in shock mount microphone EV
The RE20 mounted in the 309A shockmount.

Profiling Drupal 8 Sites in Drupal VM with XHProf and Tideways

XHProf, a PHP extension formerly created and maintained by Facebook, has for many years been the de-facto standard in profiling Drupal's PHP code and performance issues. Unfortunately, as Facebook has matured and shifted resources, the XHProf extension maintenance tailed off around the time of the PHP 7.0 era, and now that we're hitting PHP 7.1, even some sparsely-maintained forks are difficult (if not impossible) to get running with newer versions of PHP.

Enter Tideways.

Tideways has basically taken on the XHProf extension, updated it for modern PHP versions, but also re-branded it to be named 'Tideways' instead of 'XHProf'. This has created a little confusion, since Tideways also offers a branded and proprietary service for aggregating and displaying profiling information through Tideways.io. But you can use Tideways completely independent from Tideways.io, as a drop-in replacement for XHProf. And you can even browse profiling results using the same old XHProf UI!